Adding reversing lights
The Video Course teaches you everything about modern cars.
Reversing is one of the most difficult manoeuvres you can perform with your car, especially at night. The manoeuvre is made much safer and easier if your car has a pair of reversing lights, which come on automatically when you engage reverse gear to light up the area behind your car.
Apart from solving the problems of seeing in the dark, reversing lights also provide an instant warning to any approaching motorists or pedestrians during daylight.
If your car was not fit ted with reversing lights when it was manufactured, it is a good idea to fit an aftermarket set.
Types of light
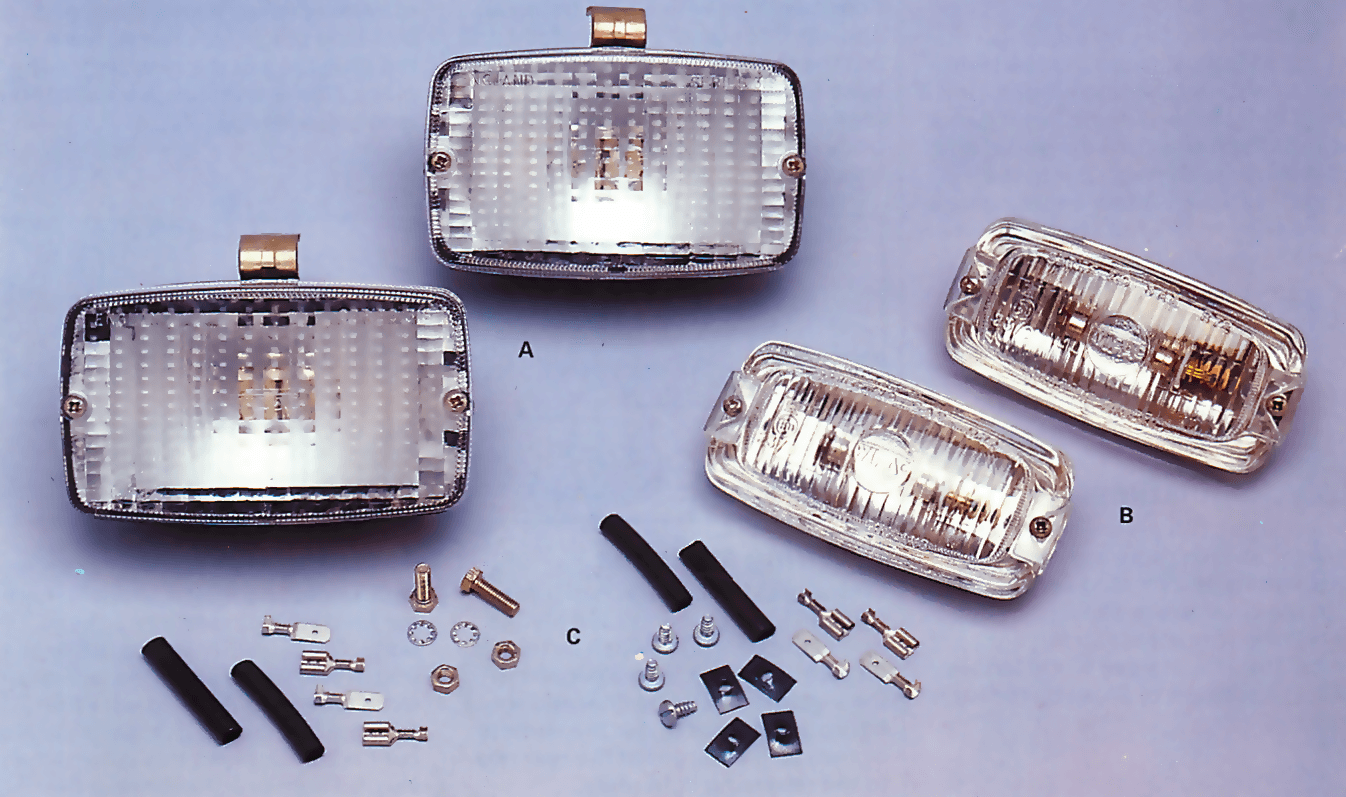
There is a vast range of reversing lights available from accessory shops so it is worth checking around to find the best price and type to suit your car.
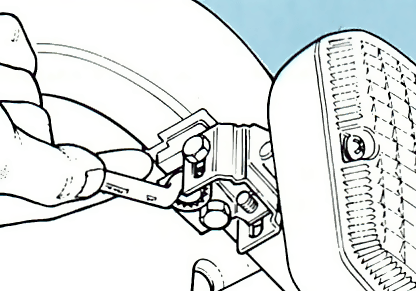
The most common reversing lights mount on the bumper, either above or below it. They can be secured to the bumper with either nuts and bolts or a clamp-on arrangement.
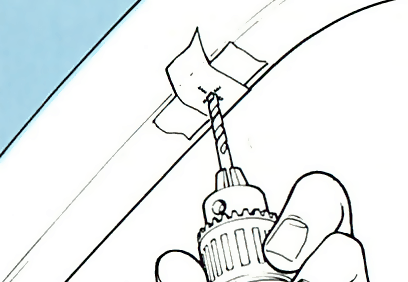
Another kind of light unit is the flush-mounted type. This can be fitted to any suitable flat metal surface, such as the flat rear panel above the bumper, and is held in place either by self-tapping screws or small nuts and bolts.
Existing wiring
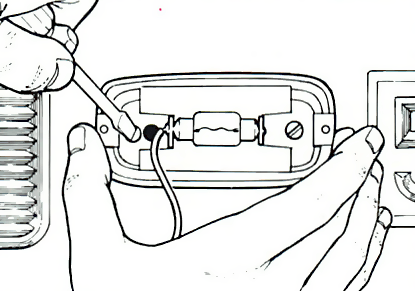
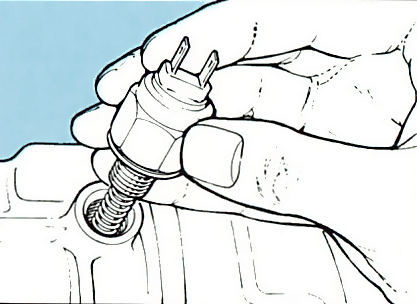
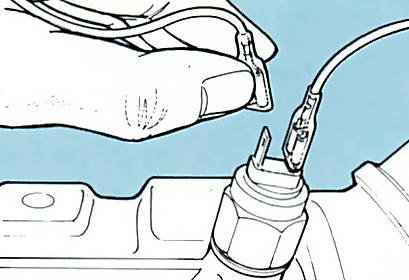
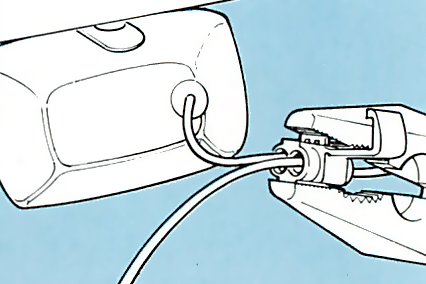
On some cars you may find that all the wiring (and sometimes the bulb-holders and lenses) for the reversing lights are already in place. All you have to do is buy and fit a gearbox switch , fit the light units (or just the bulbs), then connect up the existing wiring. Check with your dealer or manual. to find out if this is possible with your car.
If no reverse light wiring exists on your car you will have to fit a manual on/off switch to the dash - this should also incorporate a warning light to remind you when the reversing lights are on. Remember that it is illegal to travel in a forward direction while showing a white light to the rear.
Fitting process

The Ultimate Car Mechanics video course
Learn everything about modern cars from our new video series.
Learn more >-
We build a Mazda MX5 Miata from scratch
We start by tearing down and then rebuilding the whole car.
-
Every part explained
There's ridiculous detail on every part. Clearly and easily explained.
-
All modeled in 3D
We've created the most detailed 3D model ever produced so we can show you everything working.
Super detailed explanations in the video course
15 hours of pro-quality, HD content with subtitles
The
video
course
Bonus: Dismantling the engine

Engine Block

Crankshaft

Tools: Using a tap set

Using an engine stand

The Pistons
