
Converting an automatic choke to manual

Choke conversion kit
The Moprod MAC 200 kit shown here can be used to convert Weber, Zenith, Solex, Pierburg and GM Varajet carburettors to manual choke operation. Various mouldings are used with this kit to convert the auto-choke. The kit includes interface and operating spring (A), adaptor (B), anchor plate and retaining clip (C), cable spool (D) and spool return springs (E). Also included are: choke cable and warning light (F), mounting bracket (G) and wiring (H), tubing and clips (I) and various screws (J). Some carburettors also require the soleplate and extension tube (K).

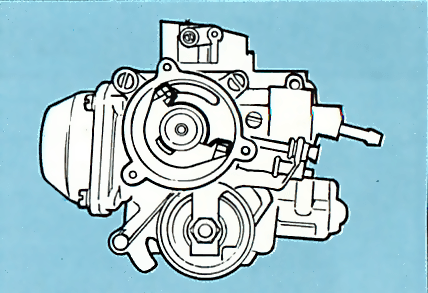
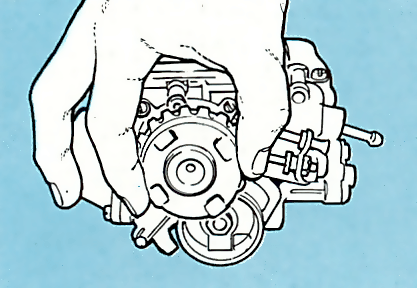
Most new cars are fitted with an automatic choke rather than a manual one. The choke automatically opens and closes the choke butterfly (or valve ) in the carburettor depending on the temperature of the engine . It may be plumbed directly into the cooling system , or linked electrically to the engine temperature sensor .

Choke problems

In practice, an automatic choke has several disadvantages. First, the driver has no control over it, unlike a manual choke. Second, it often goes wrong. It may fail to operate at all, making the car difficult or impossible to start.

The opposite may also happen and the choke fails to cut out, either partially or totally. This wastes fuel and the engine fails to run properly because the mixture is too rich - it may also run-on or clog up with oil.

For these reasons many drivers prefer a manual choke. If your car has an automatic choke and is giving trouble, you can usually convert it to a manual one with a special conversion kit.

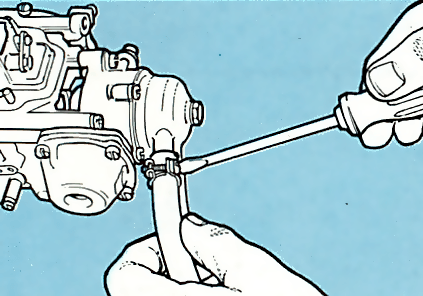
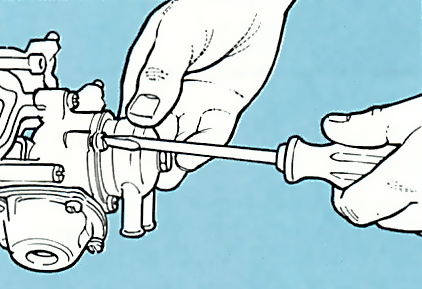
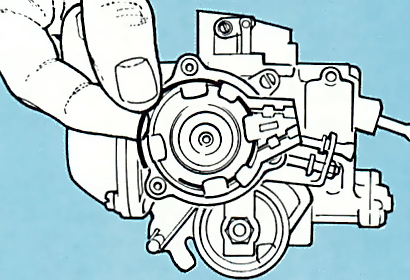
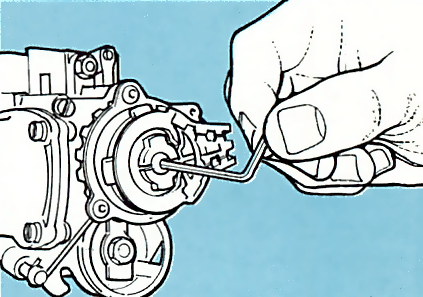
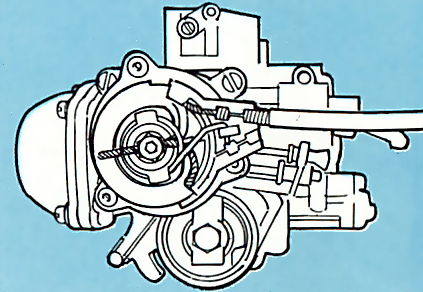
Fitting a choke conversion kit

1. Disconnect choke
If the choke is plumbed into the cooling system, take off the radiator cap and disconnect the two hoses from the choke. Use the length of tubing in the kit to join the two hose ends. If the choke is electrically operated, disconnect and insulate the feed wire from the sensor and tie it out of the way.
2. Remove choke unit
The choke unit is fixed to the carburettor by screws that pass through a clamp ring holding the choke unit housing to the carburettor body. Remove all the securing screws and pull the unit away. Keep the old gasket and clamp ring from the choke unit as you may need them later.
3. Fit interface
Refer to the fitting instructions and assemble the spring and nut to the interface mechanism. Fit the choke butterfly operating lever between the arm and the operating spring of the interface. With some carburettors you first have to fit the soleplate to the carburettor.
4. Fit adapter
Keep the operating lever in its position between the arm and spring of the interface. Fit the adapter unit (dished side first) over the central boss of the interface. Secure the unit to the carburettor with the kit's securing screws plus the old clamp ring from the auto choke unit.
5. Cable anchor plate
Find out which way your choke flap opens, then cut off one of the two cable spool stop lugs from the anchor plate. Fit the anchor plate to the adapter unit, securing it with the retaining spring clip positioned under the four lugs on the adapter.
6. Cable spool
Make sure the choke butterfly is set in the fully off position and fit the cable spool to the interface bearing at the centre of the entire assembly. The flange of the spool should butt against the one remaining cable spool stop lug attached to the anchor plate. Secure with the central screw.
7. Dash mounting
Find a suitable position on the dash and mount the warning light and choke control knob, either by drilling into the dash or using the brackets provided. Run the cable under the dash and into the engine bay. You may have to drill a hole and fit a grommet in the bulkhead to pass the cable through.
8. Wiring up
Connect the purple wire to an ignition-controlled feed and run it to one of the warning light terminals. Run the red wire from the second light terminal to a terminal on the choke switch. Join the black wire from the remaining switch terminal to a nearby earth point.
9. Cable fitting
Fit the nipple to the inner cable, 117mm from the end of the outer cable. Push the outer cable into the anchor body and wind the inner cable around the spool so the nipple is in the central hole. Fit the return spring to the cable spool over the inner cable, locating the ends in their slots.

Manual alternatives

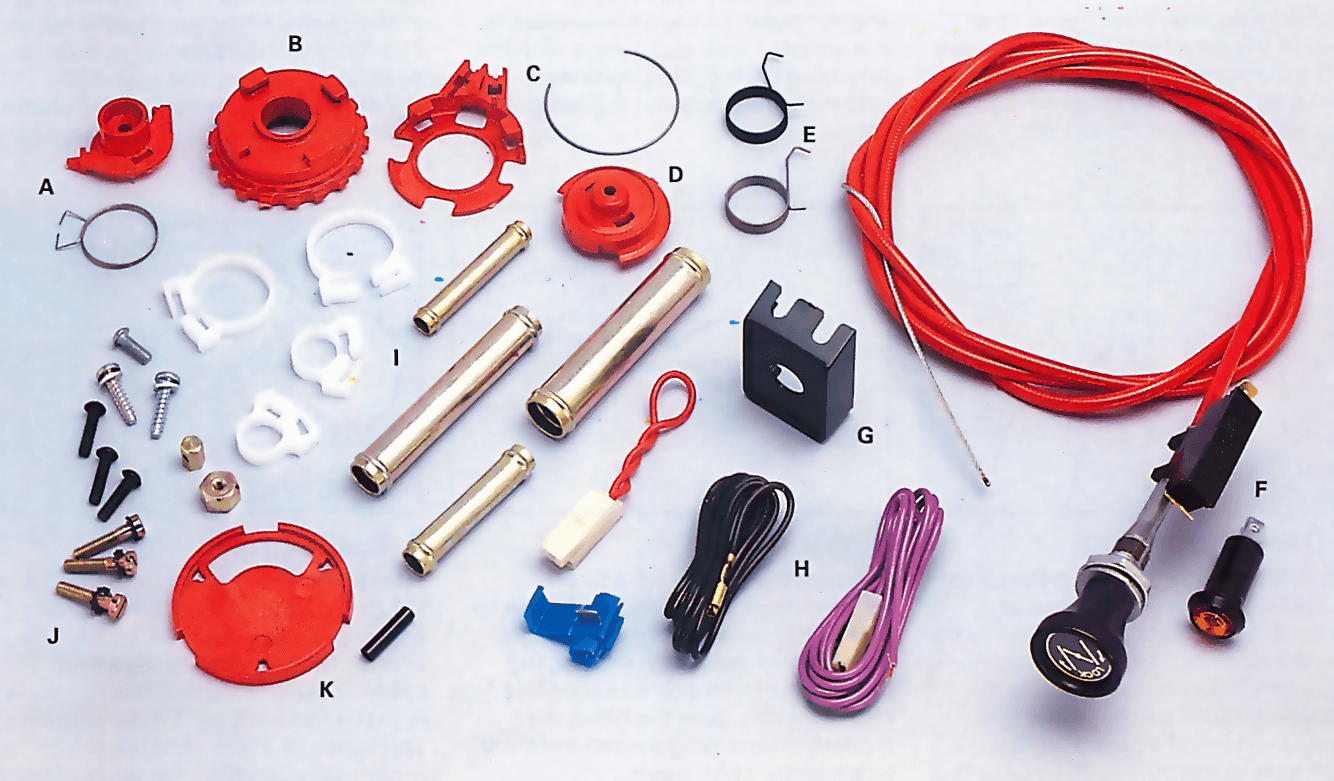
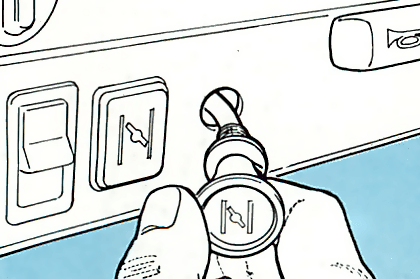
There are a great many kits on the market, each designed to work with a particular carburettor. They all work in much the same way. A choke control fits to the dashboard . A cable runs from the control through the engine bay bulkhead and links up to the carburettor. Some kits come with a warning light to remind you the choke is out.

Buying the kit

You need to check, with either your car dealer or the accessory shop, whether a conversion kit is available for your carburettor - not all types are catered for.

Engine Block 18 minutes
Stop wasting time on YouTube and get serious!

The Ultimate Car Mechanics video course

Learn everything about modern cars from our new video series.

Learn more >
  • We build a Mazda MX5 Miata from scratch

    We start by tearing down and then rebuilding the whole car.

  • Every part explained

    There's ridiculous detail on every part. Clearly and easily explained.

  • All modeled in 3D

    We've created the most detailed 3D model ever produced so we can show you everything working.

Start watching

Super detailed explanations in the video course

15 hours of pro-quality, HD content with subtitles

icon-search