Installing central locking
The Video Course teaches you everything about modern cars.
Car theft or car break-ins are always a worry to the motorist and it is wise to take every precaution against them that you can.
Central door locking is a feature that provides both convenience and added security to anyone who regularly drives around with passengers in their car.
Security
The most obvious advantage of a central door locking system is that it provides a quick and easy way of locking all the doors of your car together just by operating the driver's lock. The security gain is that there is no danger of leaving a door unlocked. You can also easily lock the rear doors to keep small children inside the car.
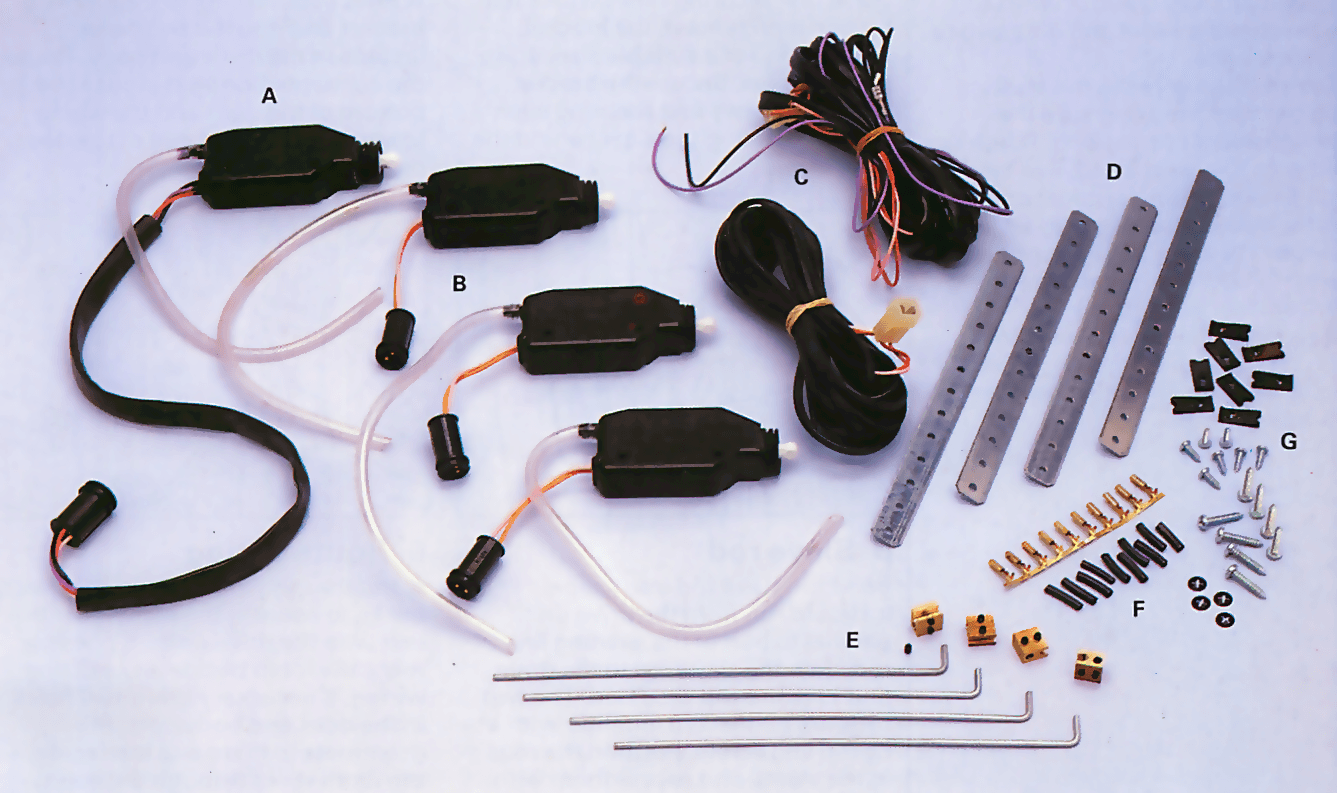
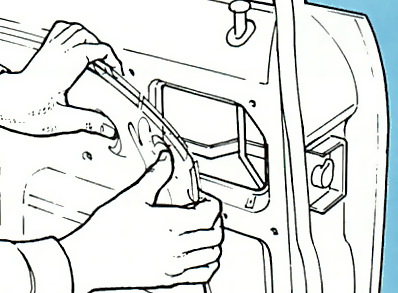
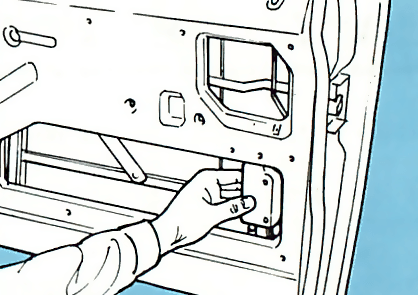
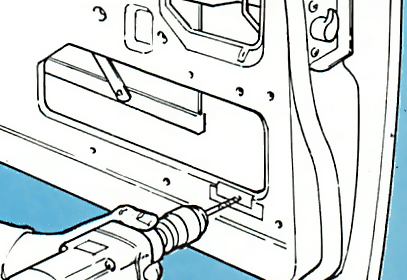
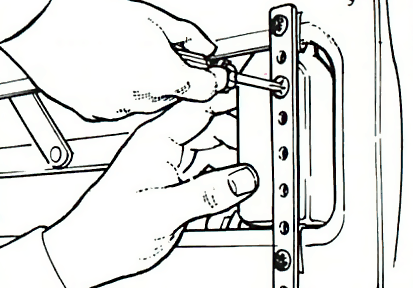
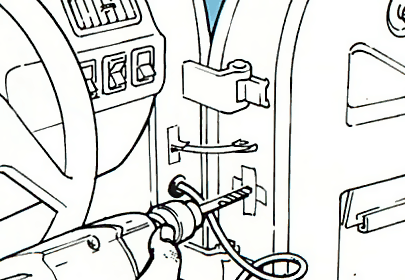
To convert your car to central door locking you need a kit, which you can readily buy from a car accessory shop. It consists of electrically operated drive units that you mount inside the doors, along with all the wiring, brackets and link rods that you need for fitting it to your car.
A kit can be used on a two- or four-door car, although the benefits of fitting one to a four-door car are obviously greater. It can also be used on almost any model of car, but you should check with your dealer first in case your car is unsuitable. It is also a good idea to shop around before you buy.
Operation
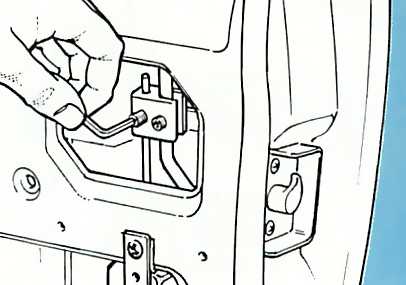
When the driver's door lock is operated it moves a switch in the master drive unit. The master unit then sends a signal to the drive units which move the link rods and lock or unlock the other doors.
Remote control
Some kits are also supplied with a remote control. This allows you to lock the car from the outside with a hand-held unit. This has the advantage that, if the locks freeze in cold weather, you may still be able to unlock the door using the remote control.

The Ultimate Car Mechanics video course
Learn everything about modern cars from our new video series.
Learn more >-
We build a Mazda MX5 Miata from scratch
We start by tearing down and then rebuilding the whole car.
-
Every part explained
There's ridiculous detail on every part. Clearly and easily explained.
-
All modeled in 3D
We've created the most detailed 3D model ever produced so we can show you everything working.
Super detailed explanations in the video course
15 hours of pro-quality, HD content with subtitles
The
video
course
Bonus: Dismantling the engine

Engine Block

Crankshaft

Tools: Using a tap set

Using an engine stand

The Pistons
