in Brakes
If you have tightened the brake shoes so that there is no excess travel before they come on, yet the handbrake lever still pulls up a long way, the cable has probably stretched and must be adjusted.
There are many types of adjuster, but they all have the same effect that of shortening or lengthening the cable.
Some are inside the car, at the base of the handbrake lever. Most, however, are underneath the car - and are probably dirty and rusty.
Whenever you work under the car, always put it on firm supports such as axle stands. Chock the wheels remaining on the ground .
About two hours before you plan to do the job, squirt penetrating oil on to all the nuts and screw threads you will unscrew. This gives the oil time to free any seized parts.
Also lubricate with engine oil all the pivots and linkages that are operated when the handbrake is applied - they tend to seize due to road dirt, grit and corrosion. Make sure that the cable or rods move freely in their covering sleeves or gaiters.
Raise the rear wheels clear of the ground and support them on axle stands. Chock the front wheels and fully release the handbrake.
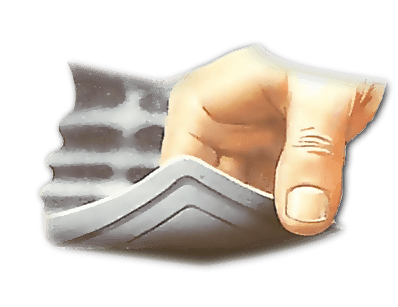
The adjusters are inside the car, at the lower end of the handbrake lever. Pull away the covering or carpeting.
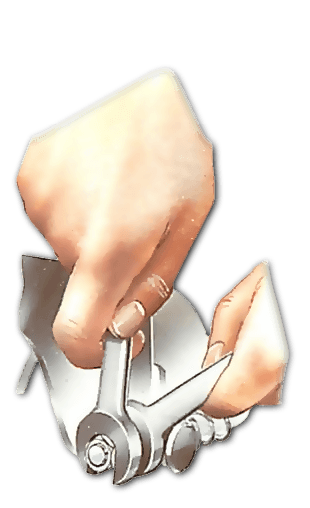
The threaded end of each cable has one or two nuts. If there are two, grip each with a spanner and screw them apart, freeing the locknut.
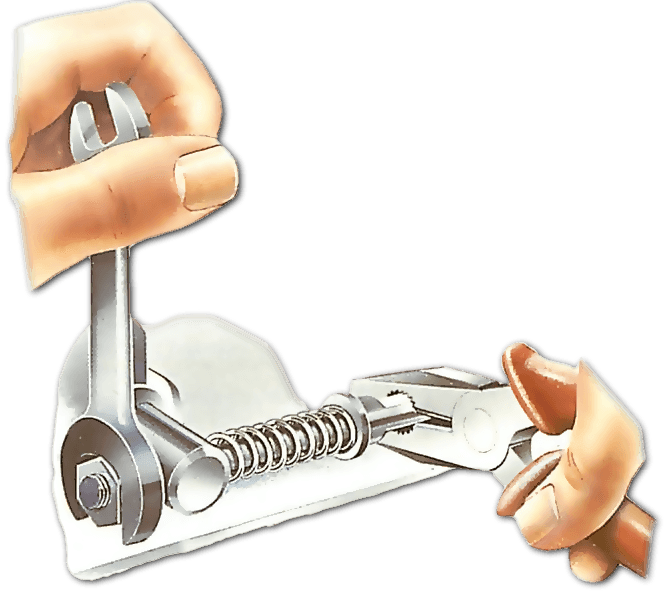
Hold the lower end of one rod with a pair of pliers to stop it turning, or fit a screwdriver into the front end of the rod if that is slotted.
Turn the lower nut clockwise down the thread, drawing the rod forward. Stop turning when the handbrake lever can be pulled up only three to five 'clicks'. Adjust the other rod by the same amount.
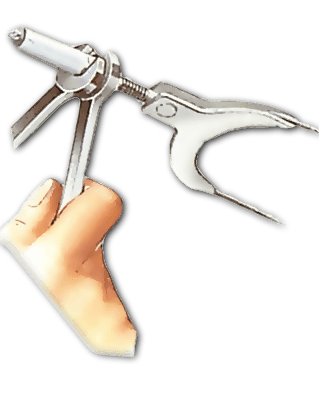
Pull the handbrake lever 'on' until slight resistance is felt at the lever; then try turning each rear wheel. Each should turn with equal resistance.
If they do not, tighten the cable on the slacker side until both feel equal. Tighten the locknuts.
Check that, with the handbrake released, both wheels turn freely. If not, ease back the adjustment and recheck.
Raise the rear wheels clear of the ground, and support them on axle stands. Chock the front wheels.
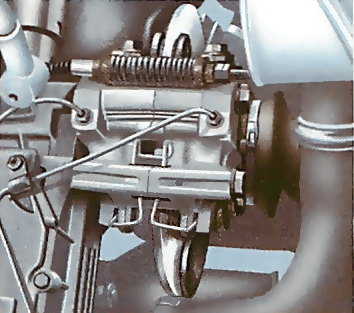
The adjuster is underneath the car, in the centre and just in front of the rear wheels.
Put the handbrake lever to 'off'. Without pressing the release button, pull it on three clicks.
Exact details of the adjuster vary considerably from car to car, but there is probably a pair of nuts on the adjuster rod - one an adjuster nut on a screwed sleeve, the other a locknut to hold it firmly. Loosen the locknut and screw it back three or four threads.
Turn the adjuster nut clockwise until the raised wheel can be turned only with firm hand force .
Apply the handbrake and check that the wheels do not bind when it is released. If they do, readjust. Tighten the locknut.
Raise the wheels on which the handbrake operates clear of the ground, and support that end of the car on axle stands. Chock the other wheels. Pull the handbrake lever on three clicks.
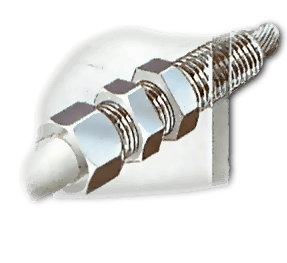
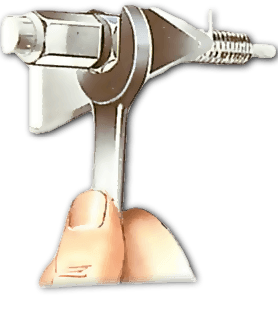
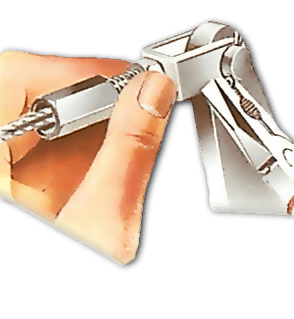
Loosen the locknut and screw it back along the threaded part of the outer casing a few turns. Screw the adjuster nut in the same direction until some resistance is felt on the cable.
Turn a wheel - it should turn only with firm hand force. Move the adjuster again if necessary, until it does.
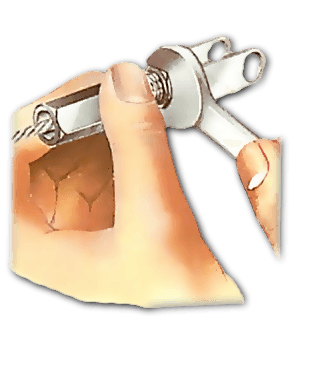
When the wheel movement is correct, hold the adjuster nut with one spanner and tighten the locknut on to it with another.
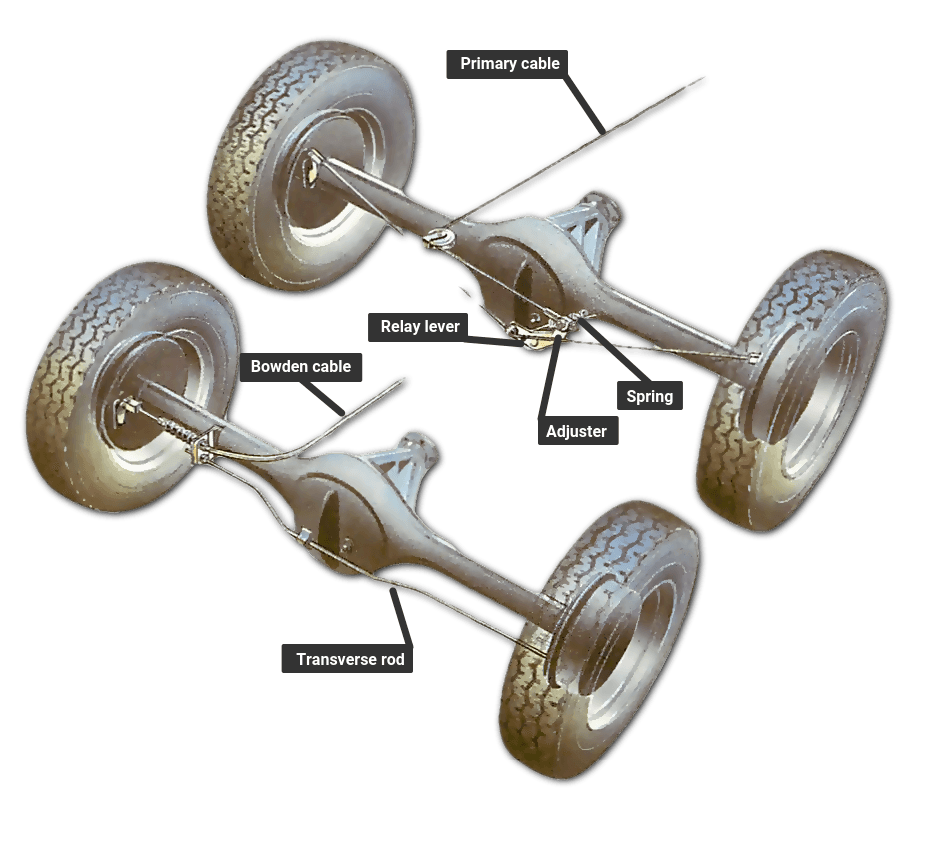
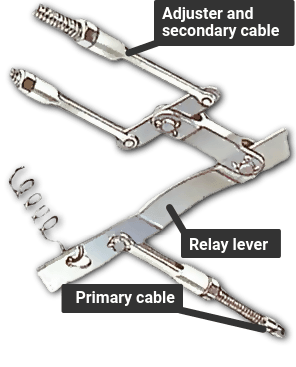
Some cars have a pair of handbrake cables separated by a relay lever located under the car.
A primary cable runs from the handbrake lever to the relay lever; a secondary cable goes from the relay lever to the brakes.
Set the handbrake lever one or two clicks 'on'. Jack up the car and support it securely on axle stands. Chock the unbraked wheels.
Free any locknuts, then tighten the cable that has the most slack until it is taut. Repeat the procedure with the second cable, then tighten the locknuts.
Sometimes the adjustment is on an equalising unit mounted on the rear axle, or on a fork at the end of a rod or cable just before it reaches the brake backplate.
A clevis pin holds the fork to a lever on the backplate. Take out the split pin which holds the clevis pin: remove the clevis pin.
Pull the handbrake lever until it engages on the second notch.
Loosen the locknut and screw back the adjuster nut until the clevis-pin holes in the fork are just in line with the hole in the lever on the backplate.
Tighten the locknut and refit the clevis pin with a new split pin.
On most cars with all-round disc brakes , the handbrake operates on the rear discs, but on a few cars it operates on the front discs. A single adjustment takes up stretch on the handbrake operating cable, and compensates for wear on the pads (if the pads are separate from those operated by the hydraulic system ).
Raise the wheels clear of the ground, and support the vehicle on axle stands. Chock the other wheels. Set the handbrake to off.
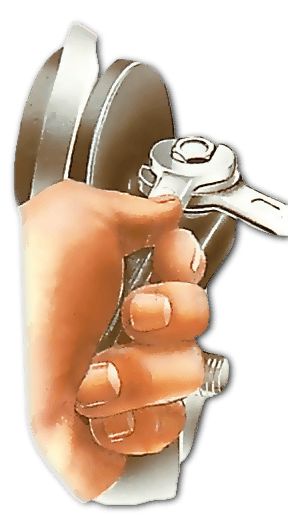
With a large, open-ended spanner, loosen and unscrew a few turns the large, thin locknut on the back of the brake caliper .
With a smaller open-ended spanner, turn the adjustment nut clockwise until it becomes stiff.
The heel of the cast-metal lever arm should press against the back of one pad, and the wheel should be hard to turn by hand.
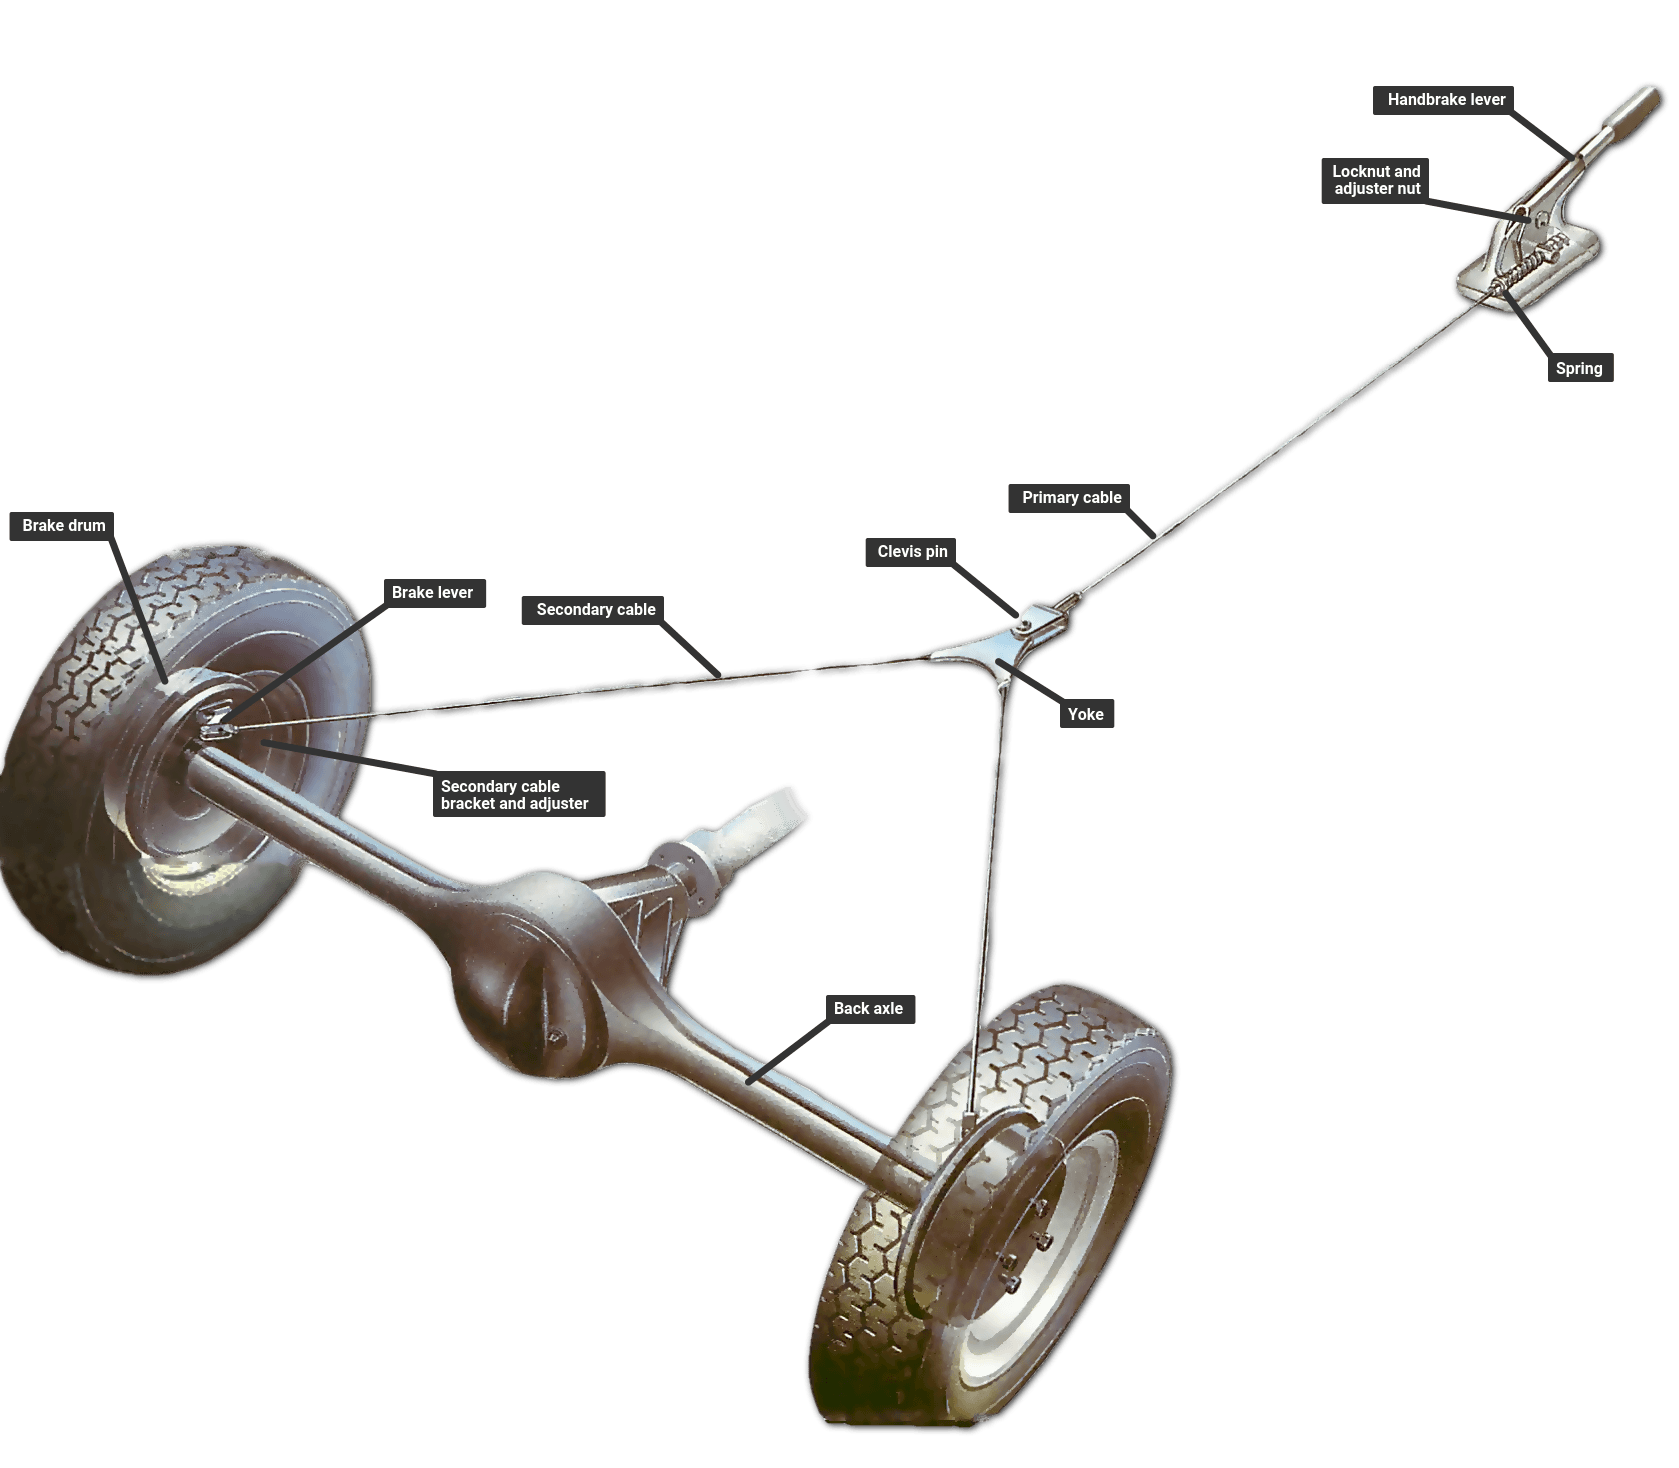
The handbrake on most cars is a mechanical linkage of rods and cables, operated by a lever on...
Most cars are still fitted with drums on the back wheels with the handbrake operating directly on...
Handbrake cable layouts vary from car to car, but have only a limited range of types of component.