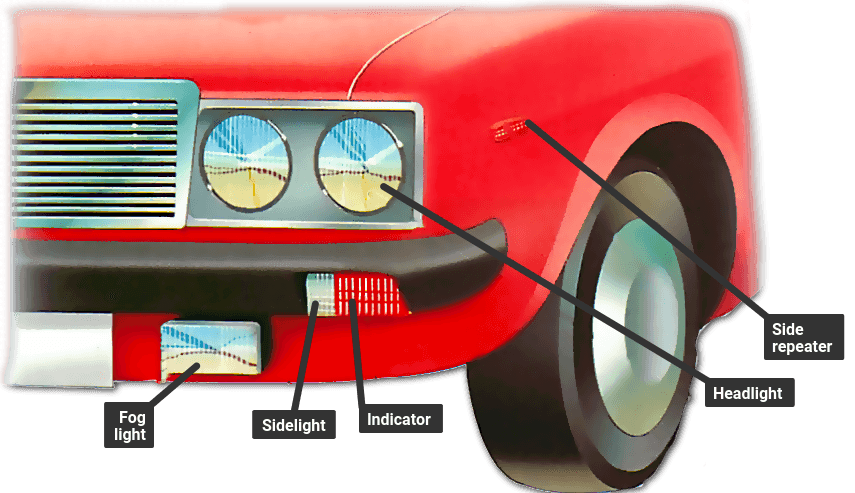
It is essential to keep your car lights in good working order all the time. Apart from being dangerous, a defective light may also be illegal. If you do find a defective light unit, and you know the bulb is not at fault, the problem may lie in the light unit itself.
On most modern cars the light units are combined into clusters, but on older cars they are often fitted singly or in pairs and have the advantage of being cheaper to replace. This sheet looks at these simple units. Clusters are covered in Bodywork S9 and 60.
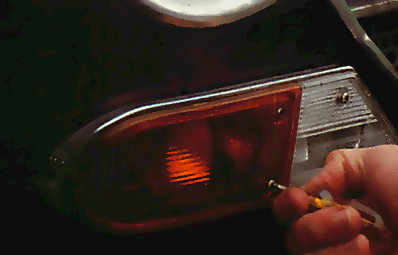
The lenses are most commonly held from the outside. by small screws and can be removed with a suitable size screwdriver. Other types are secured from the rear and you may have to remove trim panels on the inside to gain access to them. Once you can see the rear of the light unit look carefully to find how the lens is fixed. You may have to remove the bulbholder first (see below) before you can remove the lens fixings.
Release the lens fastenings and lift the lens away. Check the condition of the lens. If it is cracked you will need to buy a new one from your dealer. Some lenses are made up of individual sections which are slotted together. With this type you can often replace just the broken section.
Clean away any dirt, grime and condensation that has accumulated on the inside of the lens.
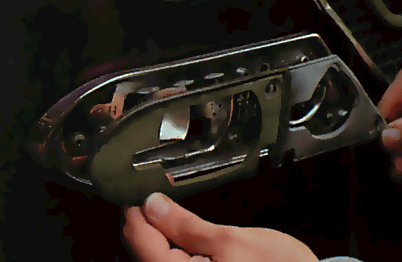
As with the lenses the bulbholders can be removed either from the front of the light unit or from the rear.
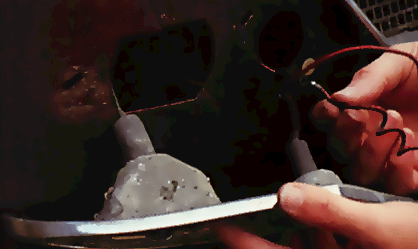
Disconnect any wiring to the bulb-holders by pulling off the multi-plug connector. If individual wires are fit ted, make a note of which wires fit to which terminals to help with reassembly.
Check to see how the holders are fitted to your car. They may be held with small screws or clips, or they may screw out completely with the bulb still in place. Some small indicator repeater bulbholders are removed complete with their wiring and have to be disconnected away from the light unit.
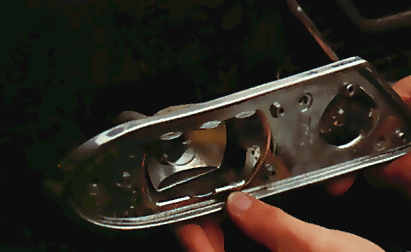
When the bulbholder has been removed check for any corrosion on the wiring terminals or inside the bulbholder. The bulb is often earthed through the holder securing screw so make sure this is free of corrosion, both on the holder and where it attaches to the body.
Clean any corrosion with wet-ordry paper and spray some penetrating oil into it to prevent further deterioration. If the bulbholder is badly rusted, you should replace it with a new one.
Some bulbholders use a small spring to push the feed wire into contact with the base of the bulb. Remove the bulb and check the contact inside the holder for corrosion. Clean it up if necessary.
With this type of holder a loose fitting bulb could be due to a weak spring. Pull the wire and contact right out of the holder to reveal the small spring behind it. Stretch the spring with two long-nosed pliers to retension it. If the bulbholders have a separate earth wire check that its connections are clean and tight.
If your lights seemed to be dull the cause could be a tarnished reflector around the bulb.
The reflector may be integral with the bulbholder or mounted separately on the light unit baseplate. To remove the baseplate release the securing screws or nuts and lift it away - remember that it may be attached to an earth wire which you will have to remove.
Carefully scrape away any corrosion on the reflector with a screwdriver, then gently polish up the surface with metal polish.
A broken lens gasket can cause water to enter the light unit, leading to corrosion and condensation. Inspect the lens gasket to make sure it is intact. If broken or perishing it should be replaced.
Many modern cars are now designed so that their lights are built as a one-piece unit known as a c...
If your car's instrument panel includes an ammeter , it will tell you how well the charging syst...
If the starter does not turn the engine although the car battery is in good condition, the ...
If a component that is fed with electricity through a relay (See How car electrical systems wo...