in Fuel systems
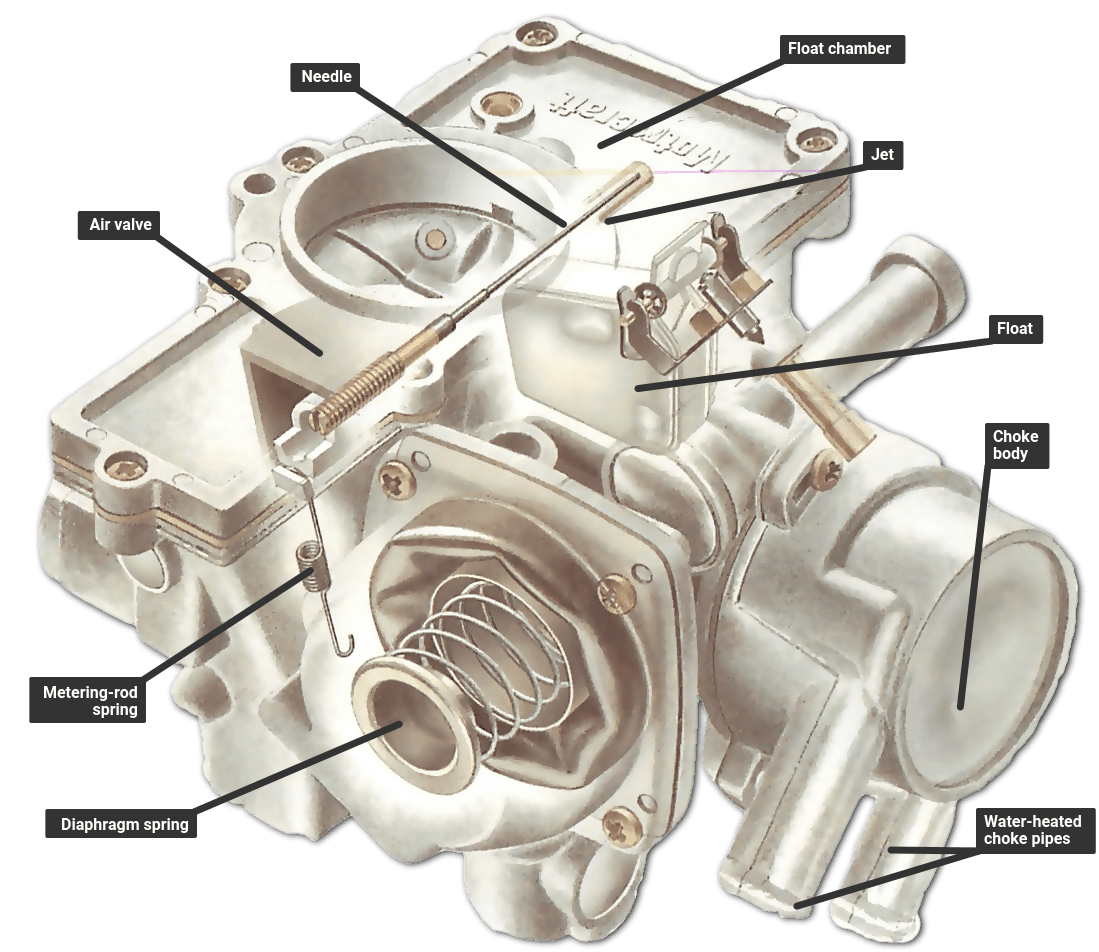
The Ford Variable Venturi carburettor is fitted to many small Fords.
It looks like an ordinary fixed-jet carburettor , and has some features typical of that type, such as an accelerator pump . However, its main mechanism is of the constant-depression type - like an SU, but tilted through 90 degrees.
Like any carburettor, it can become choked with dirt and sediment , and should be cleaned and checked about once a year.
There are quite a few small, delicate parts, so prepare for this job as you would for a fixed-jet carburettor (See Checking and cleaning a fixed-jet carburettor ).
Buy replacements for all the gaskets . You may also need to replace the main needle and jet and the float needle valve if they are worn, and the two diaphragms if they are damaged.
Remove the carburettor from the car for cleaning (See Removing a carburettor for cleaning ), keeping it upright to avoid spilling fuel . Clean the outside before you dismantle it, to keep dirt out of the inside. Wash the parts in petrol and wipe them clean with a lint-free rag. Do not wash diaphragms - keep in a clean, dry place.
After reassembly, oil the external moving parts lightly.
Make a note of the number of turns needed to unscrew adjustable parts such as the main needle, so that you can refit them in the same place. Also make notes on, or drawings of, any parts such as washers, so as not to refit them in the wrong order.
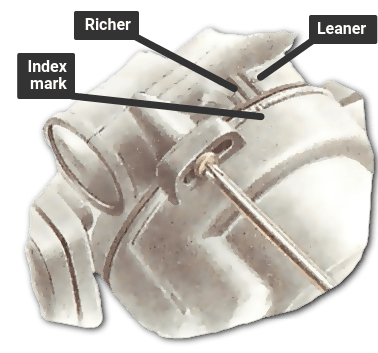
The automatic choke is adjustable, and resembles that on a GM Varajet (See Checking and cleaning a GM Varajet carburettor ). Turn to the 'rich' setting for unusually cold weather, and the `lean' setting for hot weather. The choke is pre-set by Ford, and should not be adjusted to compensate for poor starting due to other causes.
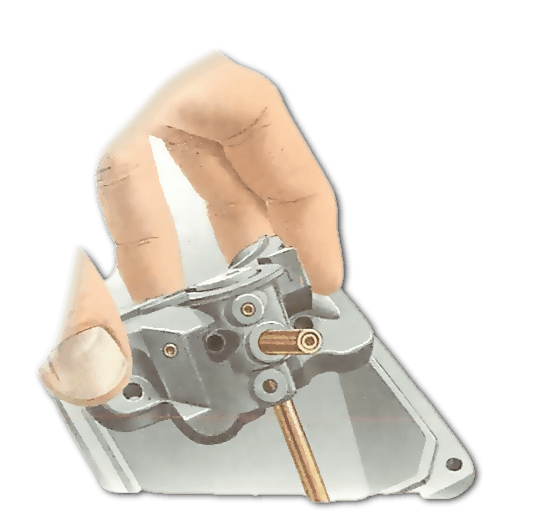
Take out the four screws holding the jet body - the block which houses the main jet. Lift out the jet body.
Check the jet carefully for wear. It tends to wear oval. If it is not perfectly round, renew it.
Prise the float pivot loose from its clips. Shake the float to make sure there is no fuel in it as the result of a leak. If it leaks, renew it.
Pull the float needle out of the valve and check both the needle and its seating for wear. A worn needle valve causes flooding and should be replaced.
Wash out the float chamber with a little petrol, and wipe it clean with a lint-free rag.
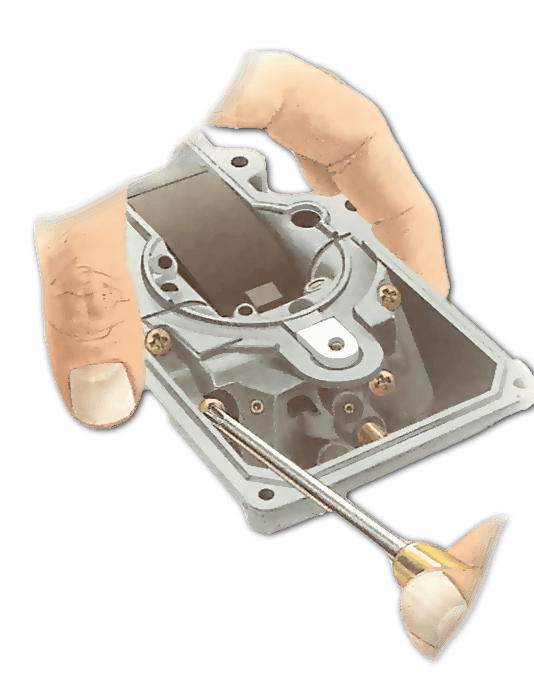
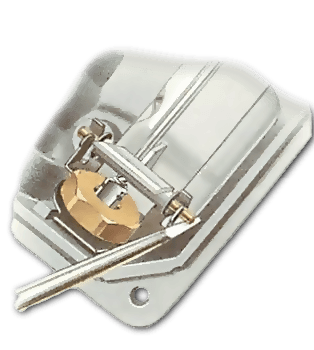
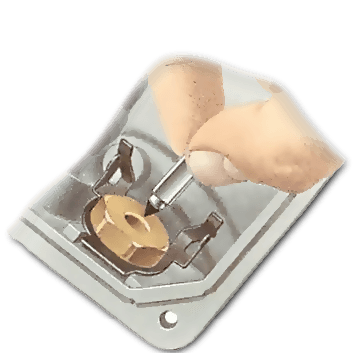
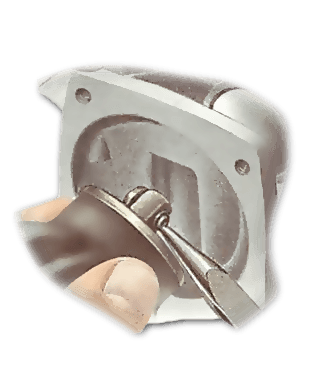
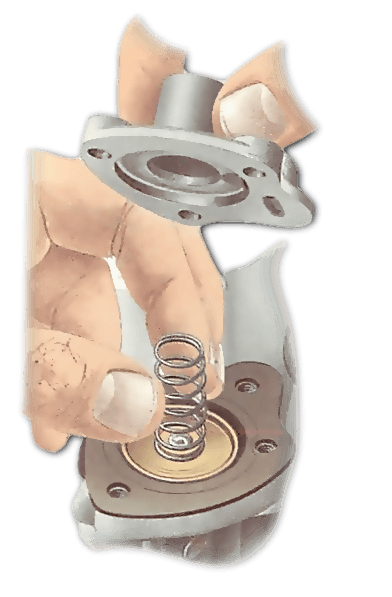
Remove the four screw holding the diaphragm cover. Take off the cover and the spring immediately under it.
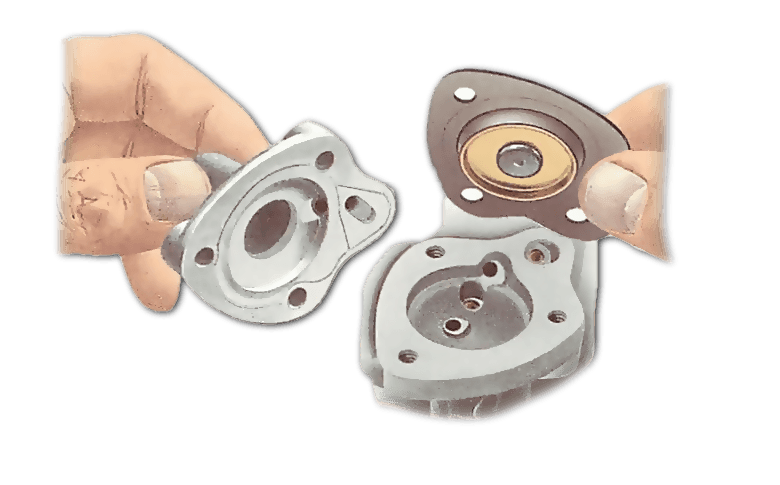
Carefully peel the edges of the diaphragm free of the main carburettor body. Free the centre of the diaphragm by pushing off the circlip holding it, taking care not to nick the diaphragm.
Check the diaphragm, as you did that of the accelerator pump , and refit it carefully.
There is a small spring in the piston part of the air valve, inside the square aperture above and to the left of the diaphragm make sure that it is centrally placed and pointing upwards before refitting the top.
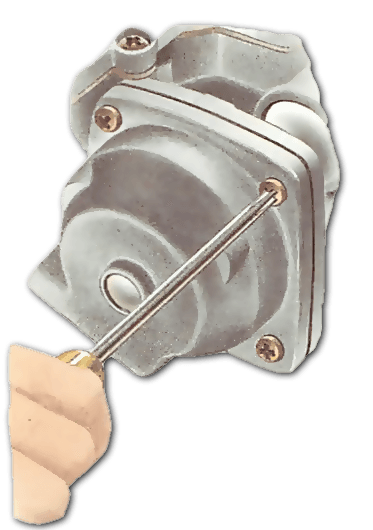
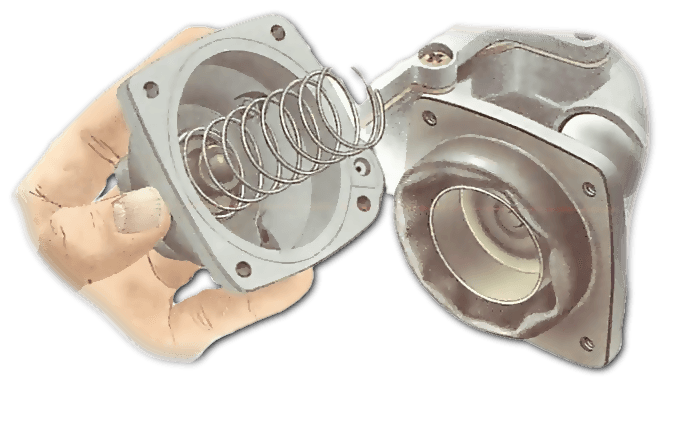
Remove the three screws holding the cover of the accelerator pump. Take off the cover, which has a spring under it.
Carefully peel off the diaphragm, noting which is the outside and which the inside.
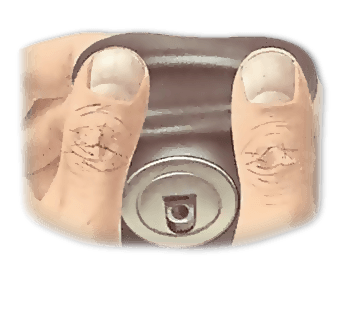
Check the diaphragm for holes, cracks, perishing or wrinkles. Even a pinhole can spoil its operation. Fit a new diaphragm if necessary.
Also check that the jets under the diaphragm are clean. To clean them, remove and wash in petrol and blow through them with a foot pump.
Do not poke jets with wire or brushes — even a soft brush can leave a bristle in a jet and block it.
The SU carburettor is simple to strip. It has only one jet (except in a few special types) an...
Fixed-jet carburettors are easily blocked by small dirt particles and chemical residues from f...
The Stromberg carburettor does not have a regular service schedule, but should be cleaned about...
The Varajet carburettor used on many Vauxhalls and Opels is a hybrid between fixed-jet and vari...