Troubleshooting the ignition warning light
The Video Course teaches you everything about modern cars.
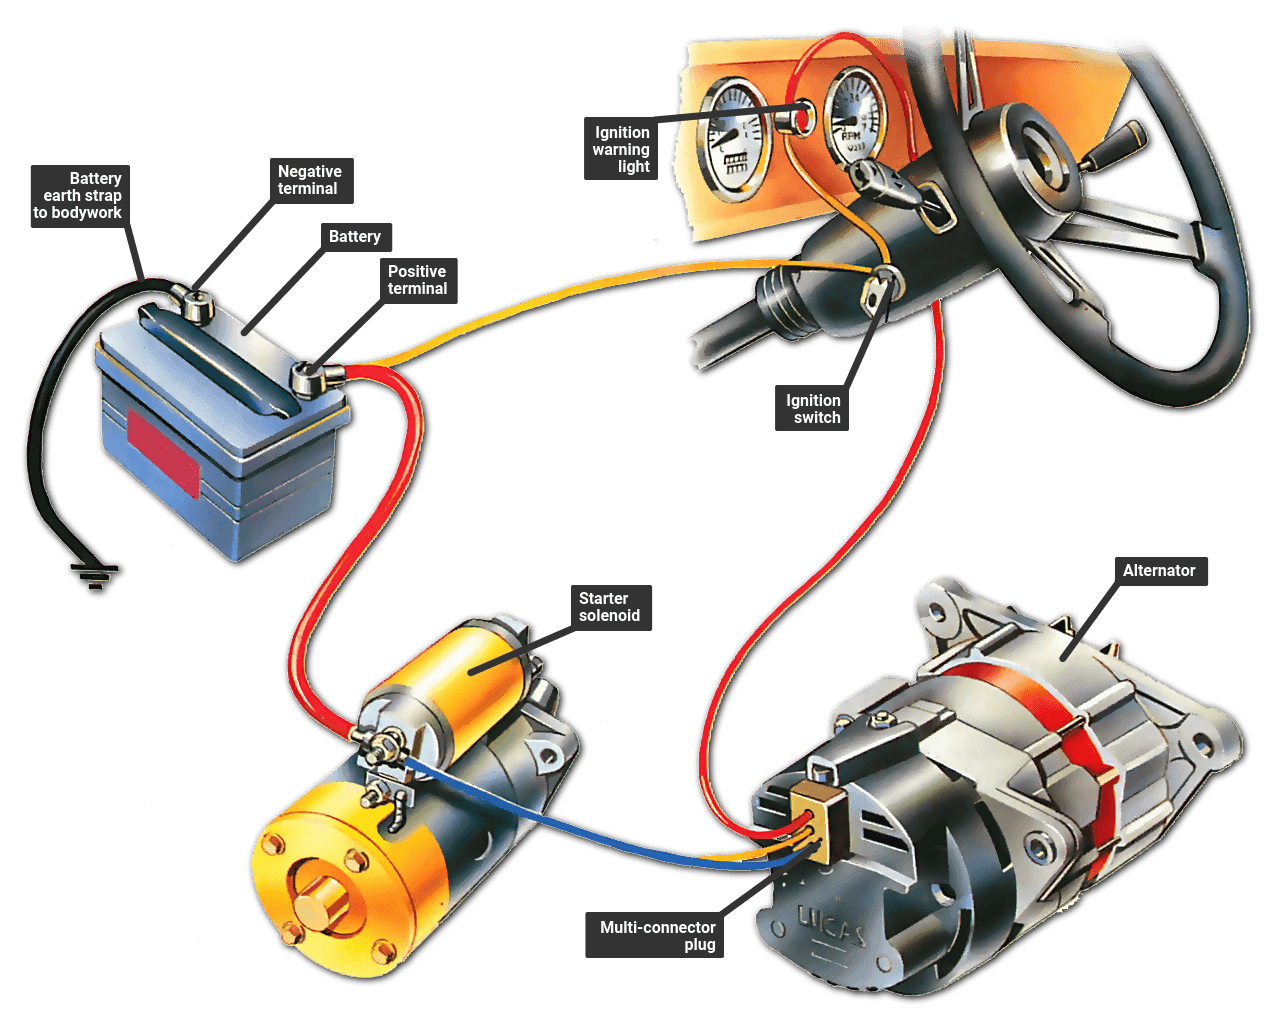
The ignition warning light, sometimes known as the no-charge light, is one of the most important lights on your dashboard . It warns you when the car's generator is not charging the battery .
In general, if the charging system is working normally, the warning light should glow when the ignition is switched on and then extinguish when the engine is started. But the light does behave in slightly different ways depending on the type of generator fitted to your car.
If your car is equipped with a dynamo it is normal for the light to flicker at idling speeds as this type of generator produces little or no current at low engine speeds. The light should extinguish when the engine speed is raised.
If your car is fitted with an alternator the warning light should not come on when the engine is idling, provided the idle setting is correct, because an alternator produces current even at low speeds.
Faults
There are three basic problems that an ignition warning light can develop. First, the warning light bulb may fail to illuminate when the ignition is switched on and the engine has not yet been started. (This is usually the simplest to fix.) Second, the warning light may fail to go out when you raise the engine speed. Third, the light may behave normally at low revs but then come on at high engine speed.
No illumination
If the warning light fails to illuminate when the ignition is turned on, there are two possible causes.
One is that the warning light bulb may simply have blown. This could be due to old age. The other possibility is a fault in the charging circuit - if the generator is overcharging it may cause the bulb to blow. You can make a simple check to find out which is at fault.
Warning light wire
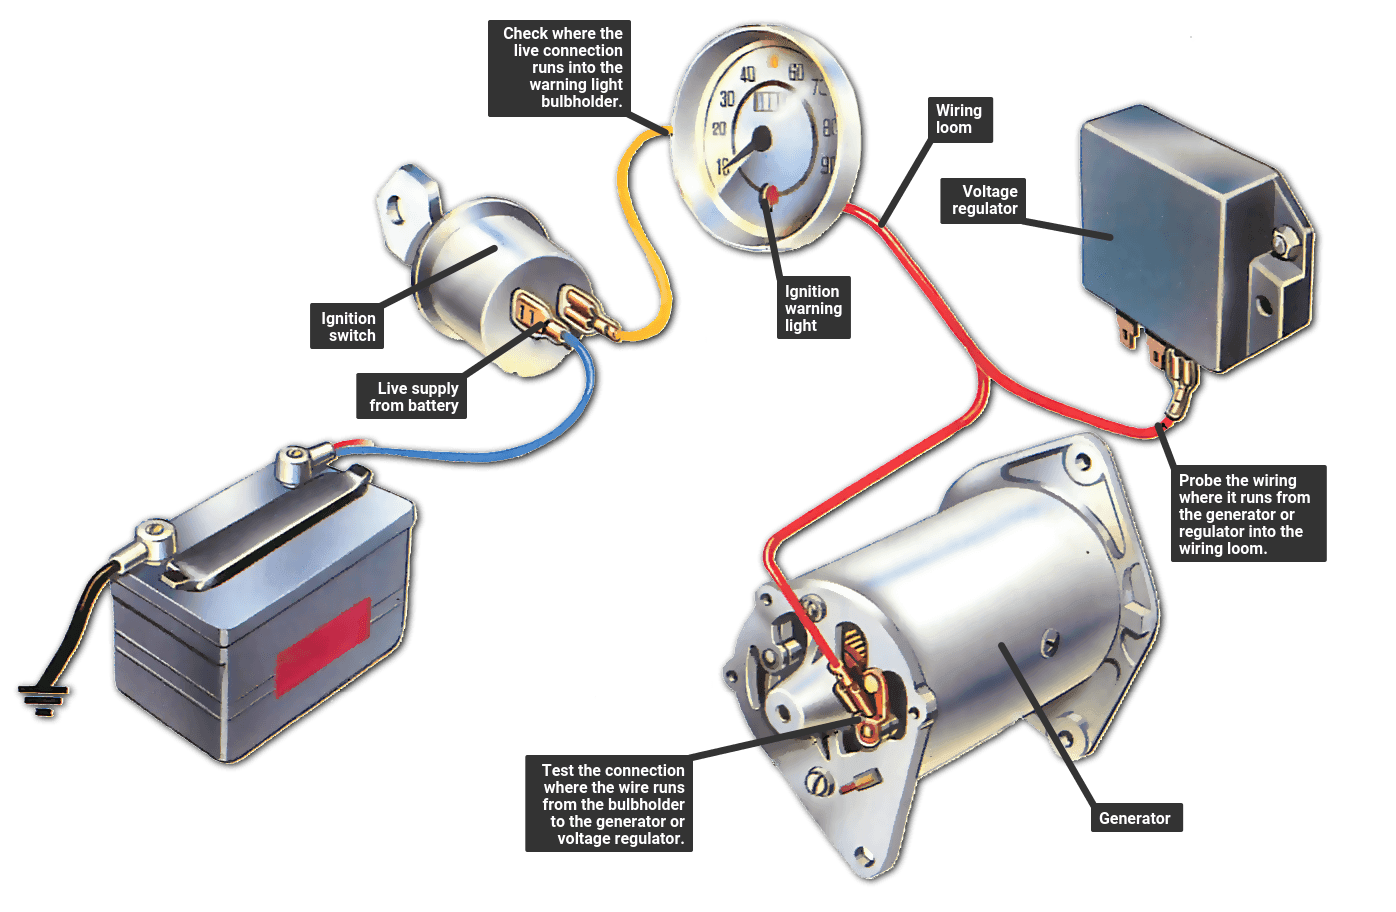
To make this check you will need to find the warning light wire in the engine bay where it connects to the charging system. But first you need to know exactly which type of charging system you have so that you can identify the correct wire.
Cars fitted with a dynamo have the warning light wire connected to a remote voltage regulator , often mounted on the bulkhead or inner wing. Look on the regulator cover for the terminal marked either WL or IND - this is the wire you want.
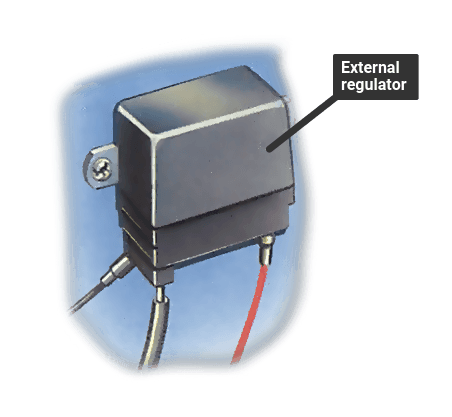
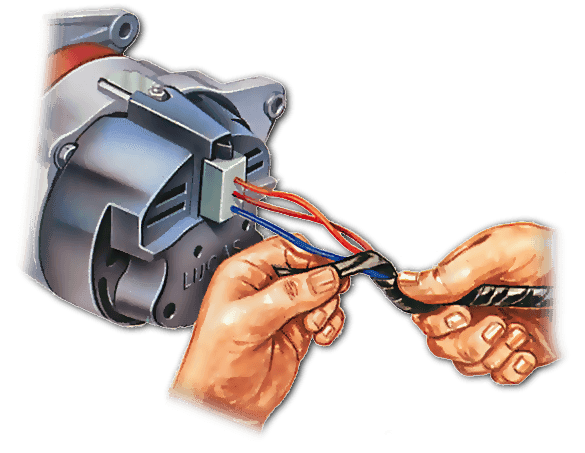
If your car has an alternator, the warning light wire connection depends on whether the alternator is fitted with an internal or an external voltage regulator.
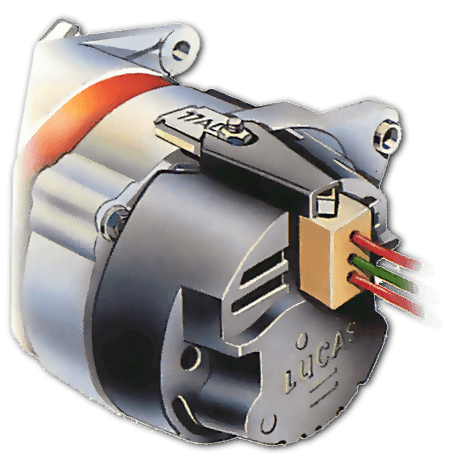
If the alternator is fitted with an internal regulator, the wire you want connects directly to a terminal on the back of the unit marked WL or IND. If the alternator has an external regulator, the warning light wire attaches to it in the same way as a dynamo. Again the terminal will be marked WL or IND.
Some cars, however, have an alternator which uses a separate relay for the warning light circuit. In this case you should disconnect the wire from this relay.
Warning bulb check
Remove the warning light wire and touch it to earth. Turn the ignition on and observe the warning light. If it illuminates suspect a charging fault. If not suspect a blown bulb or faulty wiring.
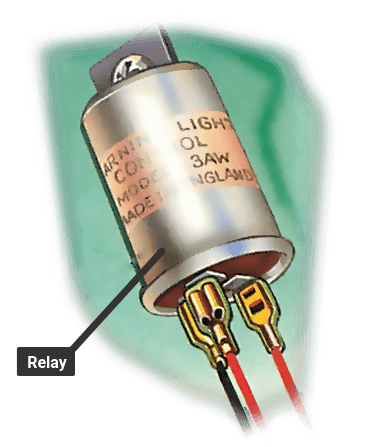
For a dynamo, the warning light wire always runs from the light to a separate voltage regulator. On an alternator the wire may run to an internal regulator, to an external regulator or to a separate relay.
Fitting a new bulb
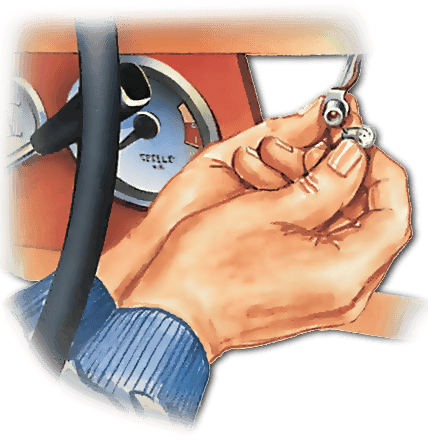
To change the warning light bulb you will need to gain access to the rear of the dash.
On older cars this is usually quite easy as the bulb can often simply be pulled out of its holder by reaching around the back of the dash with your hand.
On newer cars the bulb is often located in the instrument cluster and connected to the wiring via a multi-plug connector and a printed circuit .
When fitting a bulb to the cluster unit, make sure it has a good contact with the metal strips in the printed circuit — it is quite easy to misalign them.
Checking
Disconnect the warning light wire and make sure the terminal connections are clean and that the wire fits tightly. If the terminals look dirty or corroded, clean them up using wetor-dry paper, reconnect the wire and test the light again.
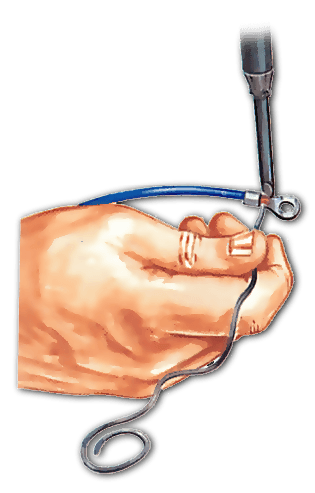
If the light still fails to illuminate, disconnect the wire again, turn the ignition on and earth it to the bodywork or engine block .
If the light now illuminates, the fault lies in the generator or the voltage regulator. If the light still fails to illuminate, you will find that the warning bulb has blown or the wiring is faulty.
Warning light on
If the warning light fails to go out when the engine is revved, the fault may again lie in the generator or in the warning light circuit.
A simple check you can make to find out where the fault lies is to start the engine and turn on as many electrical components as possible. Now rev the engine and look at the headlights . If the lights noticeably brighten, the charging system is working and the problem lies in the warning light circuit.
One possibility is that the warning light wire is being earthed somewhere along its length. Check this by turning on the ignition and disconnecting the warning light wire. If the warning light stays on, the wire is earthing somewhere. Inspect the wire for any chafing against the bodywork and repair it with insulating tape. If the wire is completely severed or badly chafed it will need replacing with a whole new section.
High resistance
The third possible problem with a warning light is that it goes out as normal when you rev the engine slightly but comes on again as the engine speed is further increased.
If the warning light simply glows dimly it usually indicates the problem is a high resistance somewhere in the warning light circuit.
Test this by switching on more and more electrical accessories once the light has started to glow. If high resistance is the problem, the warning light will become brighter as you do so.
Carefully work your way through the entire charging system looking for loose or dirty wiring connections causing the high resistance. Disconnect the wires and clean up the terminals if they are dirty. Don't forget to check whether the battery lead connections and engine earthing strap are still good.
Remember also to check the generator to engine mounting bolts. These provide an earth passage from the generator to the engine and body, but because of their exposed position in the engine bay they can become oily and provide only a poor earth connection.
Check this connection by removing the mounting bolts. Clean away all traces of oil and dirt then refit the mounting bolts, making sure they are tight.
Fitting a new wire

Disconnect the old wire from its terminals at either end. Strip back the insulation from the new wire and lay the bared ends in the connector terminals, then apply the solder.
Once the solder has cooled refit the wire alongside the existing loom, taping it at regular intervals. Make sure it can't touch any hot or moving parts.
High speed faults
If the warning light comes on at full brightness at high engine speeds, the fault is more serious.
There are several possible causes. On a dynamo it may be damaged brushes , a worn commutator or possibly faulty internal windings.
With an alternator the problem may be caused by a faulty rectifier, which is usually situated inside the alternator unit. The unit will have to be removed from the engine in order to be stripped down so the faulty parts can be replaced where possible.
Check with your dealer to find out what replacement parts of the alternator are available - you may find it cheaper and more convenient to buy an exchange unit.

The Ultimate Car Mechanics video course
Learn everything about modern cars from our new video series.
Learn more >-
We build a Mazda MX5 Miata from scratch
We start by tearing down and then rebuilding the whole car.
-
Every part explained
There's ridiculous detail on every part. Clearly and easily explained.
-
All modeled in 3D
We've created the most detailed 3D model ever produced so we can show you everything working.
Super detailed explanations in the video course
15 hours of pro-quality, HD content with subtitles
The
video
course
Bonus: Dismantling the engine

Engine Block

Crankshaft

Tools: Using a tap set

Using an engine stand

The Pistons
