Installing a cigarette lighter socket
The Video Course teaches you everything about modern cars.
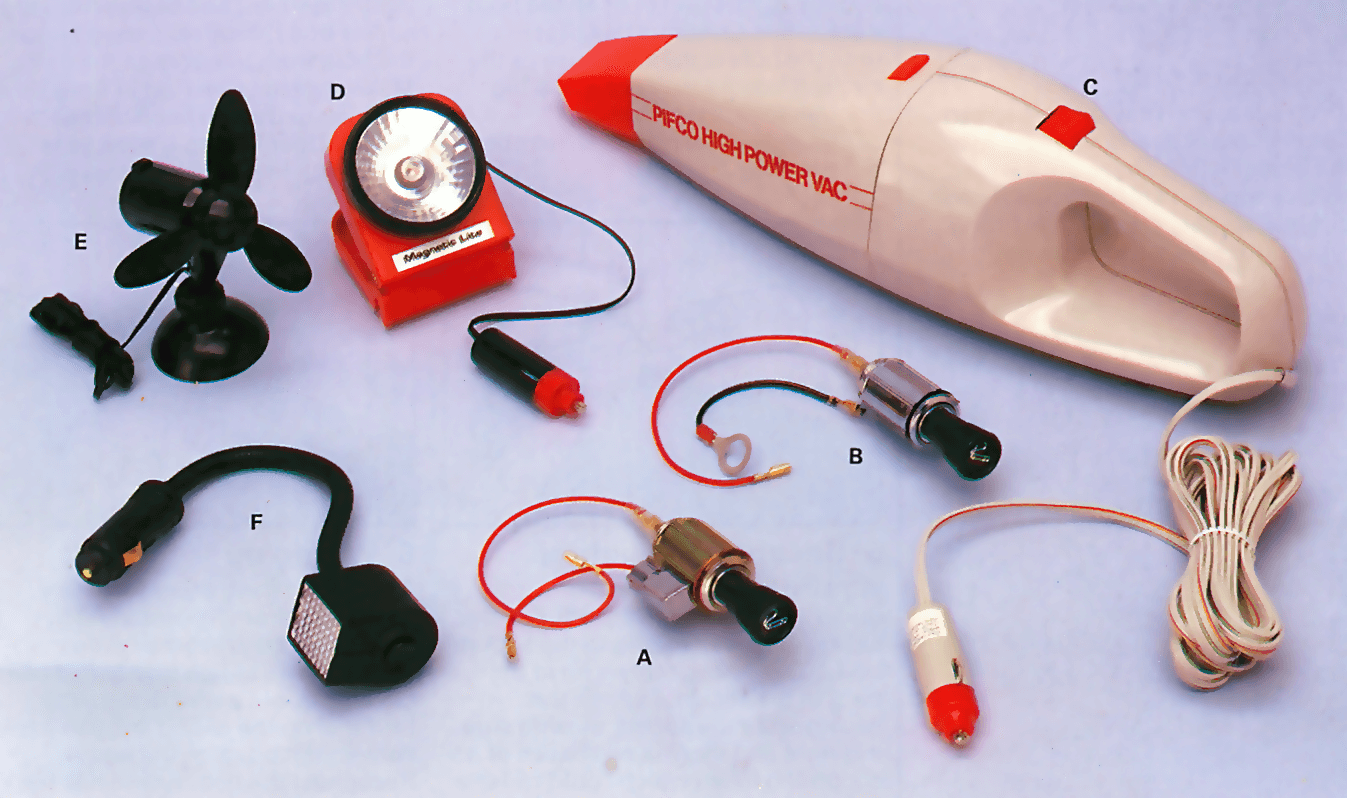
Although you may not smoke, fitting a cigarette lighter inside your car could be more useful than you think. Car accessory shops are now selling a variety of helpful, practical electrical accessories that are designed especially to work from a cigarette lighter socket.
Examples include map reading lights, inspection lamps, car vacuum cleaners and personal cooling fans . All these simply plug into the lighter socket and you may wish to fit such a lighter simply to power these accessories.
Fitting a cigarette lighter has the further advantage of cutting down on the number of holes you need to drill into the dashboard or centre console to fit accessories, since a number of different accessories can be run off the same lighter socket.
Ways of fitting
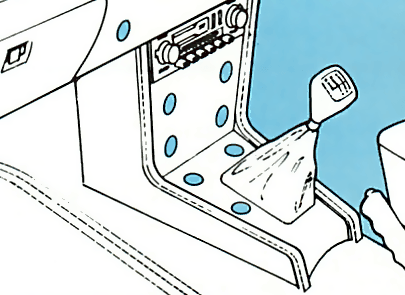
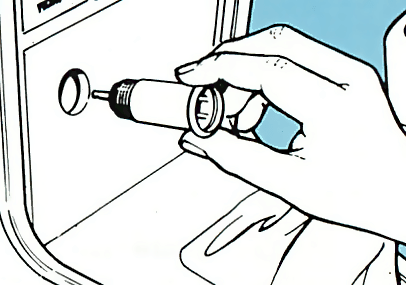
On many cars, if a lighter is not included as a standard fitment, you may well find that there is already a hole in the dashboard designed to accept one.
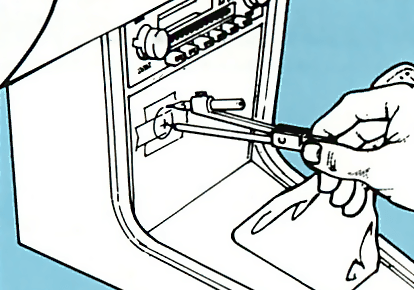
You will probably find that the hole has been blanked off with a plug. To fit the lighter, all you need to do is to prise out the plug and fit the lighter in its place - the necessary wiring for the lighter will usually be already built-in round the back of the hole.
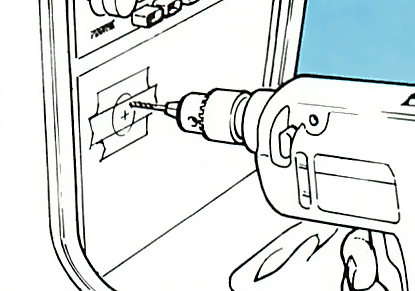
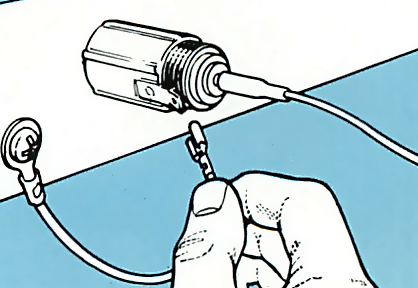
Older cars, however, may not have a special hole ready to accept a cigarette lighter. In this case you will have to cut your own hole, either in the dashboard or in the centre console, fit the lighter socket and wire it up.
Choices
You will find that there is a wide range of aftermarket cigarette lighters in car accessory shops. A point to watch out for when buying one is that some have a built-in light, often a small ring around the base of the lighter. You may find this useful in the dark, particularly if you are fitting the lighter in the rear passenger compartment. Otherwise, there is little to choose between different aftermarket lighters.
Fitting a cigarette lighter socket


The Ultimate Car Mechanics video course
Learn everything about modern cars from our new video series.
Learn more >-
We build a Mazda MX5 Miata from scratch
We start by tearing down and then rebuilding the whole car.
-
Every part explained
There's ridiculous detail on every part. Clearly and easily explained.
-
All modeled in 3D
We've created the most detailed 3D model ever produced so we can show you everything working.
Super detailed explanations in the video course
15 hours of pro-quality, HD content with subtitles
The
video
course
Bonus: Dismantling the engine

Engine Block

Crankshaft

Tools: Using a tap set

Using an engine stand

The Pistons
