Fitting a brake light warning system
The Video Course teaches you everything about modern cars.
Brake lights are a vital warning signal to other road-users and a legal requirement, so you need to make sure they are always in working order. You should check them every day but, because this is awkward to do on your own, they are often checked only rarely if at all.
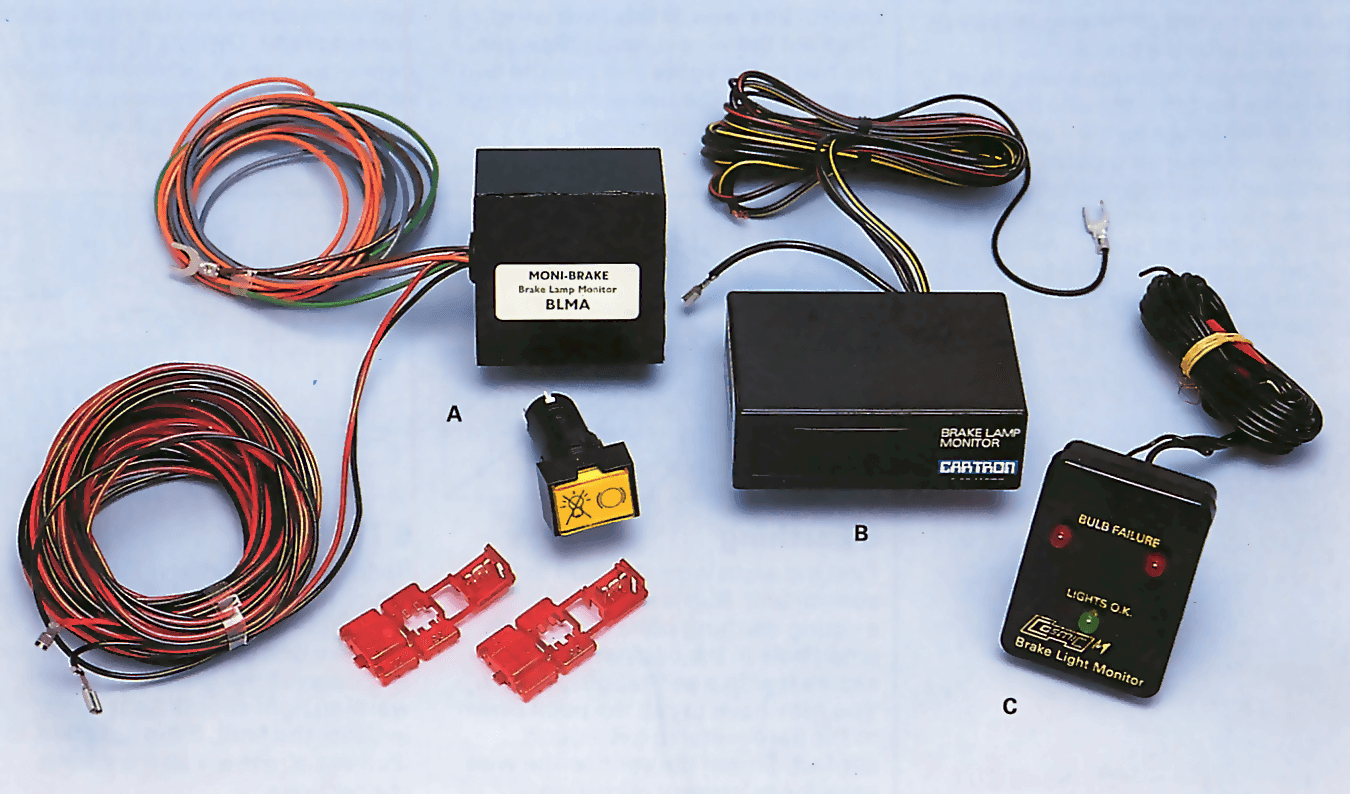
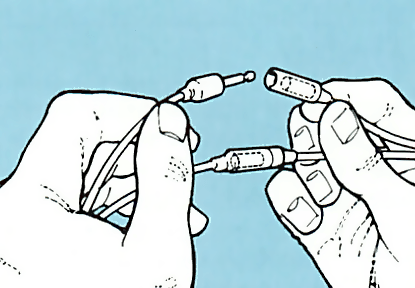
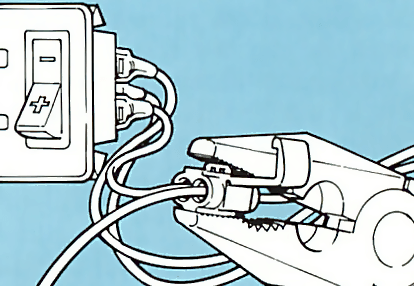
One easy way to keep an eye on your brake lights is to fit a brake light warning unit. This monitors the current used by the brake light circuit . If one or both lights blow, or there is a poor earth contact somewhere in the circuit, or a wire becomes disconnected, there will be a drop in the amount of current used and the unit will illuminate a warning light mounted on the dash. It's a worthwhile, and relatively cheap, safety feature.
Warning lights
As usual there are a variety of kits to choose from and you need to check the various units to see what features they include and how the prices compare.
For example, some types just have a single warning light that illuminates when there is a fault in the brake light circuit. Others are fitted with two lights, one of which acts as a systems check and illuminates every time the pedal is pressed to indicate that the circuit is okay. The other light - usually red glows to indicate there is a fault in the circuit.
Some monitors also have a self-checking feature. Every time the ignition is turned on the warning light glows for a few seconds to indicate that the monitor itself is working.
Fitting
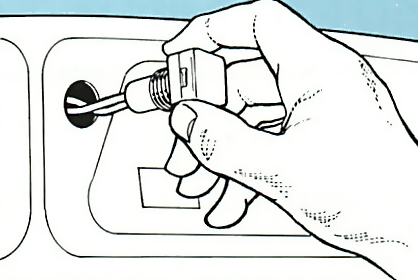
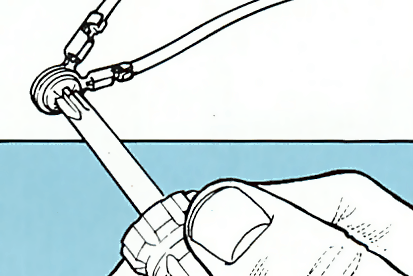
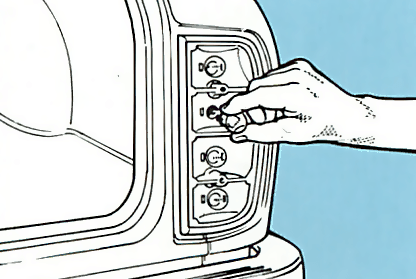
Some units have a small warning display panel that is simply stuck to the dash surface with a self-adhesive pad . Others have a separate control unit and light.
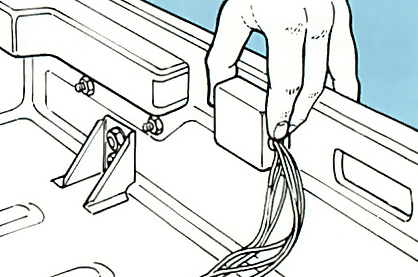
With the latter type you can fit the control unit near to the brake lights at the rear of the car and mount the warning light on the dash itself or in a bracket secured to the dash.

The Ultimate Car Mechanics video course
Learn everything about modern cars from our new video series.
Learn more >-
We build a Mazda MX5 Miata from scratch
We start by tearing down and then rebuilding the whole car.
-
Every part explained
There's ridiculous detail on every part. Clearly and easily explained.
-
All modeled in 3D
We've created the most detailed 3D model ever produced so we can show you everything working.
Super detailed explanations in the video course
15 hours of pro-quality, HD content with subtitles
The
video
course
Bonus: Dismantling the engine

Engine Block

Crankshaft

Tools: Using a tap set

Using an engine stand

The Pistons
