Servicing the windscreen-wiper mechanism
The Video Course teaches you everything about modern cars.
The windscreen-wiper mechanism needs little maintenance. At service intervals drip a little oil down the wiper spindles from outside. If they stick, the motor could burn out.
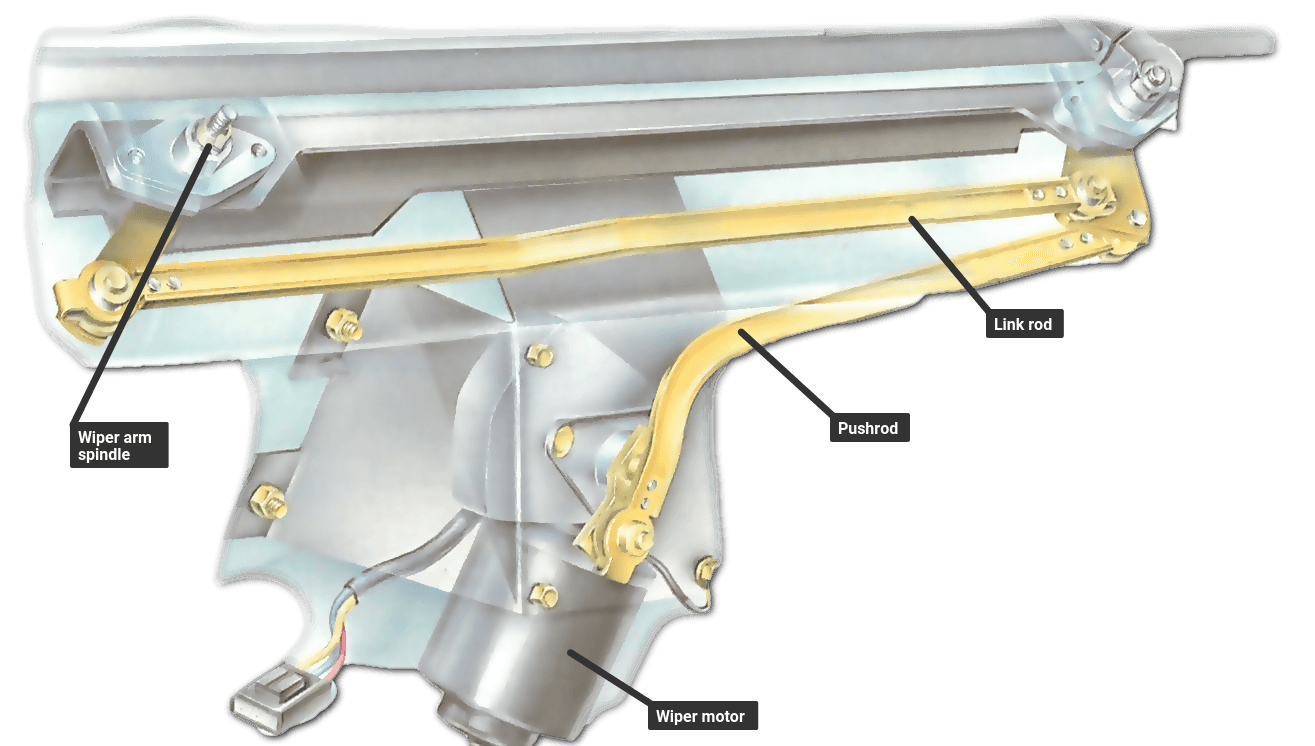
Most problems arise in the linkage , of which there are two types — a rack and wheelbox and a pushrod.
The rack-and-wheelbox linkage has a long, flexible rack — a rod with a screw thread — encased in a tube and pulled back and forth by the gear and connecting rod of the motor.
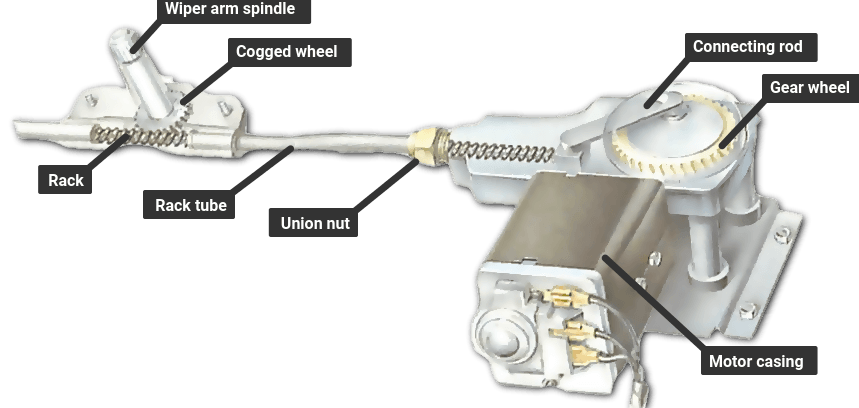
Wheelboxes (usually two) mounted on the tube each have a gear wheel that meshes with a stretch of exposed thread on the rack. The wheels convert the rack movement to the swinging action of the wiper arms mounted on the wheel spindles.
The other type of linkage has a pushrod pivoted to the gear crank. The pushrod pushes and pulls a rigid horizontal link rod (or two parallel rods) with a wiper-arm spindle at each end.
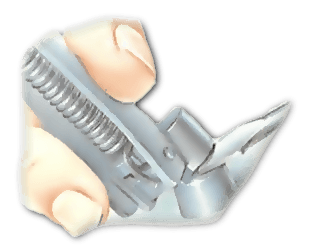
Servicing the wiper linkage
A wheelbox mechanism can become prone to sticking, or the wheels can wear and allow excessive play so that the wiper arms move too far.
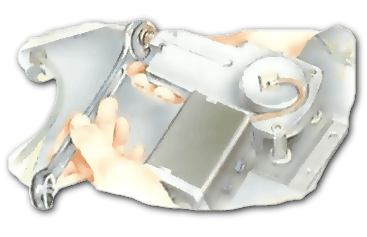
To check whether a wheelbox is sticking, lift the wiper arms off the screen and remove the motor gearbox cover. Unscrew the nut locking the tube to the gearbox, and unfasten the rack from the connecting rod by removing a circlip and washer. Lift the rack clear.

Hook a spring balance to the end of the rack, hold the tube and pull the rack until the wiper arms move. Measure the weight of the pull.
The force needed should not be more than 6 lb (2.7 kg). If more force is needed, the wheelbox and rack may need lubrication, or the tube may be curved too sharply away from the motor. No bend should have a radius smaller than 9 in. (230 mm). You can shape the bend by hand.
To lubricate the rack, withdraw it from the tube and grease it with high- melting-point grease. When rethreading, reposition it so that the unworn threads are against the wheelbox gear wheels.
Lubricate the wheelboxes with the rack removed. Take off the wiper arms and the nuts securing each spindle, noting how washers and spacers under the nuts are arranged.
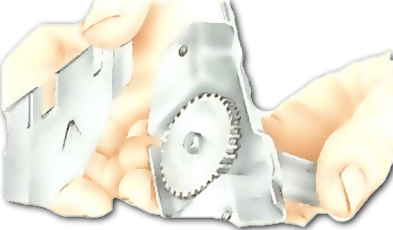
Undo the two screws holding each wheelbox together and pull out the tube from each side. Pack the boxes with high-melting-point grease and reassemble.
If the wheel teeth are worn, turn the wheels through a half circle so that unworn teeth mesh with the rack.
On a pushrod linkage, the wipers lose efficiency because of wear or damage to the linkage pivots. Replace any faulty parts.
Electrical faults
If the wiper motor remains dead or blows the fuse repeatedly, look over the wiring for poor or broken connections.
If you find none, use a circuit tester to check if current is reaching the motor. Clip the lead of the lamp to earth and hold the probe to the live terminal of the motor. If there is current, the tester will light.
If it does not, check if current is reaching the switch . If it is, search for a wiring fault between the switch and motor or within the switch.

The Ultimate Car Mechanics video course
Learn everything about modern cars from our new video series.
Learn more >-
We build a Mazda MX5 Miata from scratch
We start by tearing down and then rebuilding the whole car.
-
Every part explained
There's ridiculous detail on every part. Clearly and easily explained.
-
All modeled in 3D
We've created the most detailed 3D model ever produced so we can show you everything working.
Super detailed explanations in the video course
15 hours of pro-quality, HD content with subtitles
The
video
course
Bonus: Dismantling the engine

Engine Block

Crankshaft

Tools: Using a tap set

Using an engine stand

The Pistons
