Fitting new metal brake pipes
The Video Course teaches you everything about modern cars.
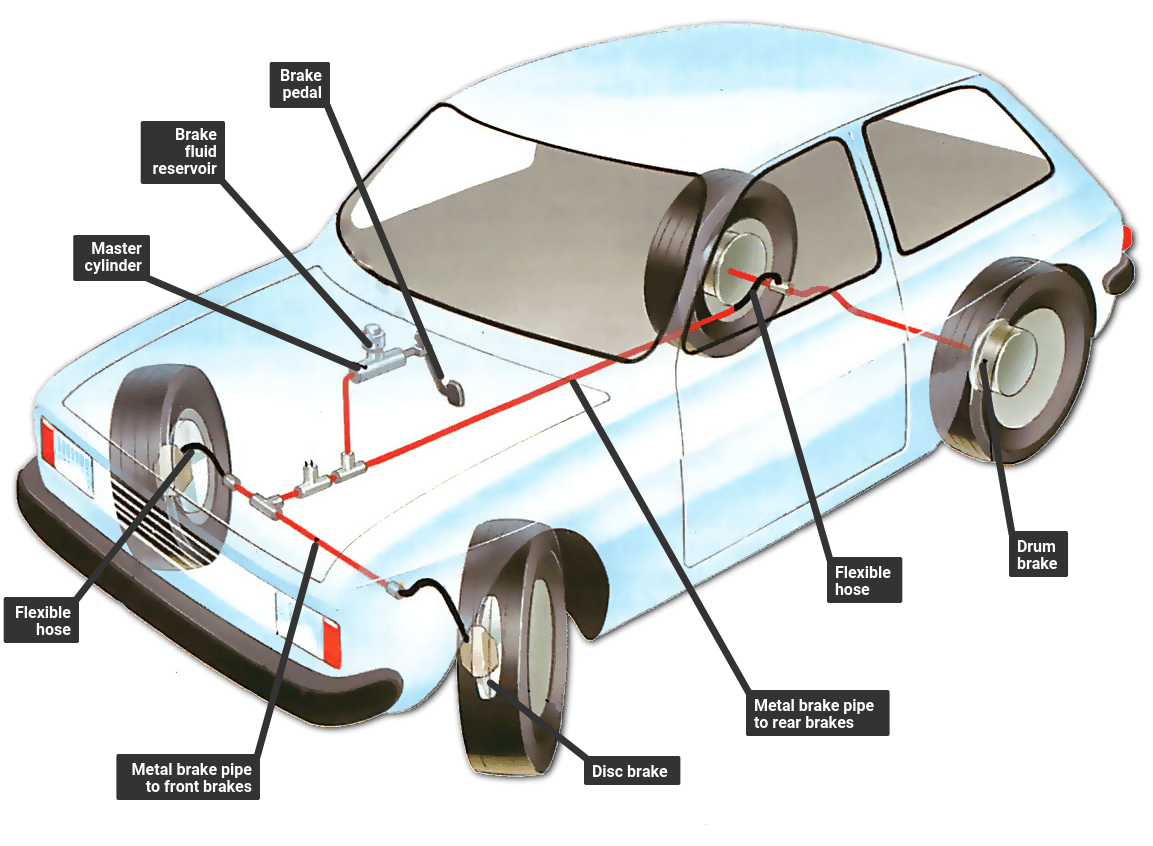
Checking the condition of your car's brake pipes is a job that is all too easy to forget because the pipes are mostly hidden underneath the car. However, these pipes can deteriorate to the point where they start to leak, causing a dangerous loss of brake fluid and eventually partial or even complete failure of the braking system.
If you find that you need to keep topping up the brake fluid reservoir more often than usual, then there is a leak somewhere in the brake system. You should immediately check the whole system thoroughly to find and repair the source of the leak.
If you find a fluid leak at one of the unions joining a rigid brake pipe to a flexible brake hose , you may be able to stop it simply by tightening the union.
If this fails, or if the pipe itself seems to be the source of the leak, then the only cure is to replace that section of pipe. But you should first check the condition of all the brake pipes because you will probably find that, if one pipe has become so corroded that it has started to leak, the other pipes will also be in poor condition. The only safe course then is to replace all the brake pipes.
Pipe checks

Make a systematic check of all the pipes by starting at the brake fluid reservoir and working down towards the brakes themselves, checking each length of pipe in turn.
Wipe the pipe clean of any oily deposits, then run your hands along the pipe to feel for damage - in particular if the pipe feels flattened or corroded at any point. If the surface feels rough because of corrosion, rub it with fine wet-or-dry paper or use a wire brush to see how deep the corrosion goes. Light surface rust is acceptable but if the rust has eaten its way into the metal, the pipe has to be renewed.
Where a pipe passes through a bulkhead, check that the grommet holding it there is still in position. If the grommet has come out the pipe will chafe against the side of the hole and may wear through. Make sure the pipe is not damaged and if all is well relocate the grommet. You can glue the grommet in place with impact adhesive if it is prone to becoming loose.
Types of union
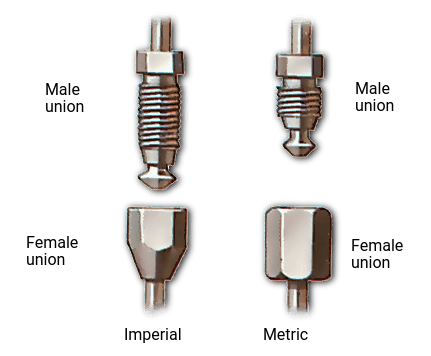
In most modern cars, the unions between the pipes and hoses are metric, but you may have an older car that is fitted with imperial thread unions. If you are in doubt, it is important to find out before you start work which type your car has because the flares on the ends of the pipes are shaped differently depending on whether the union is metric or imperial.
One way to find out is to ask your car dealer, who should be able to tell which fittings your car has from its chassis number.
Alternatively, you can find out yourself by examining the unions for clues. On a union with an imperial thread, the female nut (the one which has the thread on the inside) has a cone-shaped end that tapers away from the end where it meets the male nut (which has its thread on the outside).
Metric female nuts, on the other hand, are hexagonal in cross section almost from one end to the other, and have just a small circular section at. one end to hold the flare of the brake pipe.
There are also visible differences between metric and imperial male nuts. Imperial nuts are threaded all the way up to the hexagon head, whereas metric nuts have a shorter length of thread which stops short of the head.
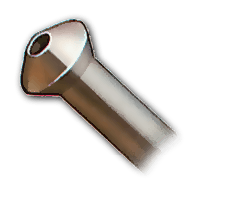
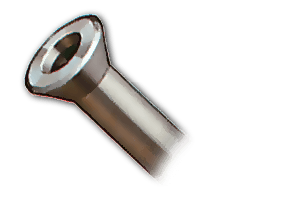
Types of brake pipe flares
There are two types of flare you may come across when renewing brake pipes: single and double.
Getting ready
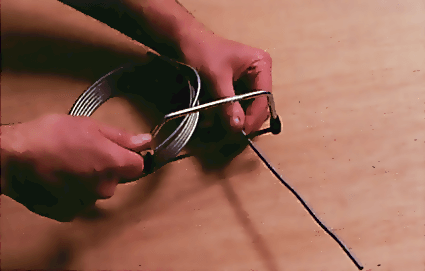
Before you start work, decide whether you need to keep the old pipes as a guide for shaping the new ones. If your new pipes are a ready-shaped set from your dealer, then you don't need to do this, so you can cut or bend the old pipes if necessary when removing them.
On the other hand, if you have bought unshaped lengths of new pipe and plan to bend them into shape yourself (see sideline overleaf for how to do this), you should try to keep the old pipes intact.
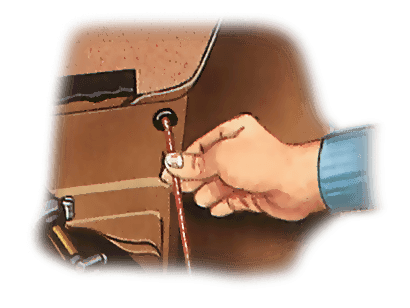
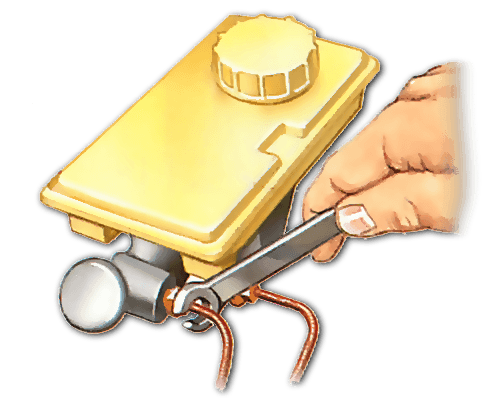
Next, examine the pipe you intend to replace to find out if there is a hose at its reservoir end that you can clamp to hold the fluid in the system. If there is, clamp the hose, then take the cap off the brake fluid reservoir, place a plastic bag over the reservoir top and replace the cap. This will keep the loss of brake fluid to a minimum when you take out the old• pipe.
If there is no suitable hose you can clamp, and the section of pipe you plan to replace connects directly to the brake fluid reservoir, you should first drain the system of fluid. Take the cap off the reservoir and open the bleed nipple on one of the brakes (any brake if the braking system is single circuit , but if the system is dual circuit open one of the nipples on the appropriate half of the system). Have a container ready to catch the fluid and pump the brake pedal to force the fluid out.
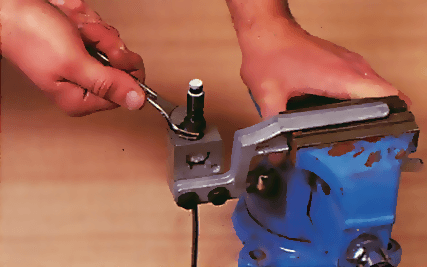
Removing a damaged pipe
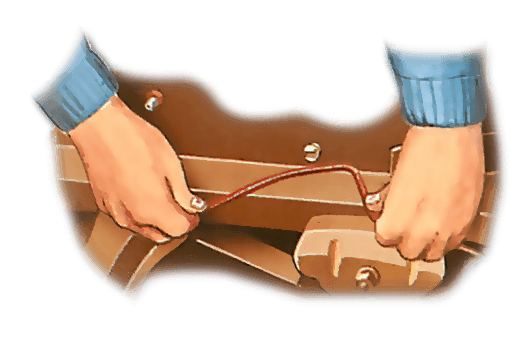
Having first drained the braking system of fluid, undo the union where the pipe leads into the brake master cylinder (1).
Then undo the pipe where it joins its brake hose (2). Finally, disconnect the pipe from its retaining clips (3) and remove it.
Removing old pipe
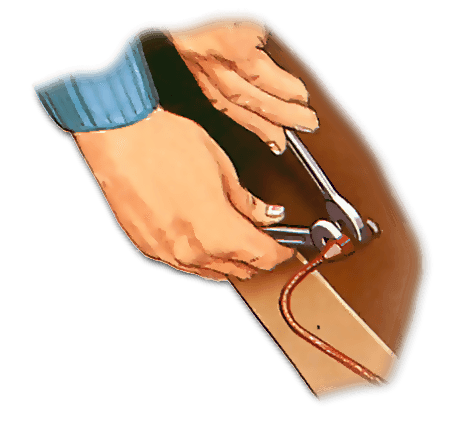
How you undo the union at each end of the pipe depends on what that end of the pipe connects to. If it connects to the reservoir or the brake itself, you can simply undo the union with a spanner. If the union is corroded, you may need to use penetrating fluid on it.
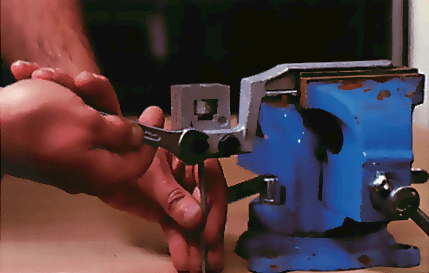
If it still won't shift, cut through the pipe with a hacksaw to allow you to get a ring spanner or slip-joint pliers round the union. Alternatively use a special split-ring union spanner (see sideline overleaf). This will give you better leverage.
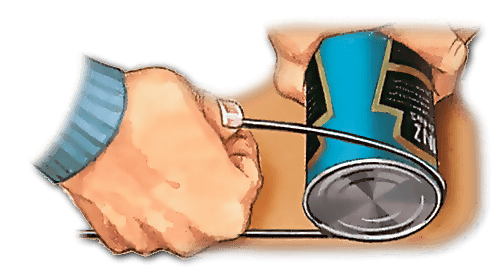
If the pipe is joined to a brake hose, you will need two spanners one to undo the union and another on the metal end of the hose to hold it steady, otherwise the hose will simply turn with the pipe as you try to undo the union.
After undoing the pipe unions, seal openings left in the system with a small plastic bag tied firmly round the opening. This will prevent any dirt entering the system and stopping the brakes from working properly.
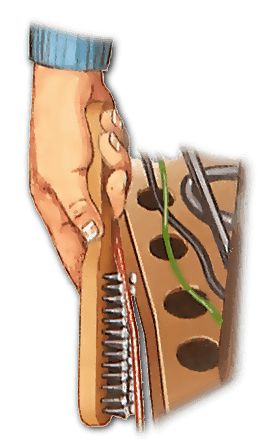
The pipe will probably be held to the car's underside or to components by metal tags or plastic clips. These prevent the pipe from flexing too much or knocking against other parts and getting damaged. Pull the pipe free (bend back a metal-tag type first), taking care not to bend it. If any of the plastic clips break, make sure you get new ones to fit with the new pipe.
Fit new pipe
If you bought an unshaped section of pipe, you need to bend it to match the shape of the old pipe.
First work the pipe roughly into position, passing it through any bulkheads or around obstructions. Then, starting at one end, screw the union on the end of the pipe into the union on the hose, reservoir or caliper . Do the union up finger-tight only, then attach the union at the other end in the same way. Once both unions are engaged, tighten them up with a spanner.
Now fasten the pipe to the underside of the car, routing it into the securing clips. You may need to bend it a little for a good fit. Make a final check that the new pipe cannot come into contact with any moving parts such as the prop shaft.
Finally, bleed the braking system, then get a friend to press hard on the brake pedal while you check the unions to make sure there are no signs of leaks in the system.
Flaring your own brake pipes


The Ultimate Car Mechanics video course
Learn everything about modern cars from our new video series.
Learn more >-
We build a Mazda MX5 Miata from scratch
We start by tearing down and then rebuilding the whole car.
-
Every part explained
There's ridiculous detail on every part. Clearly and easily explained.
-
All modeled in 3D
We've created the most detailed 3D model ever produced so we can show you everything working.
Super detailed explanations in the video course
15 hours of pro-quality, HD content with subtitles
The
video
course
Bonus: Dismantling the engine

Engine Block

Crankshaft

Tools: Using a tap set

Using an engine stand

The Pistons
