Checking steering-rack security
The Video Course teaches you everything about modern cars.
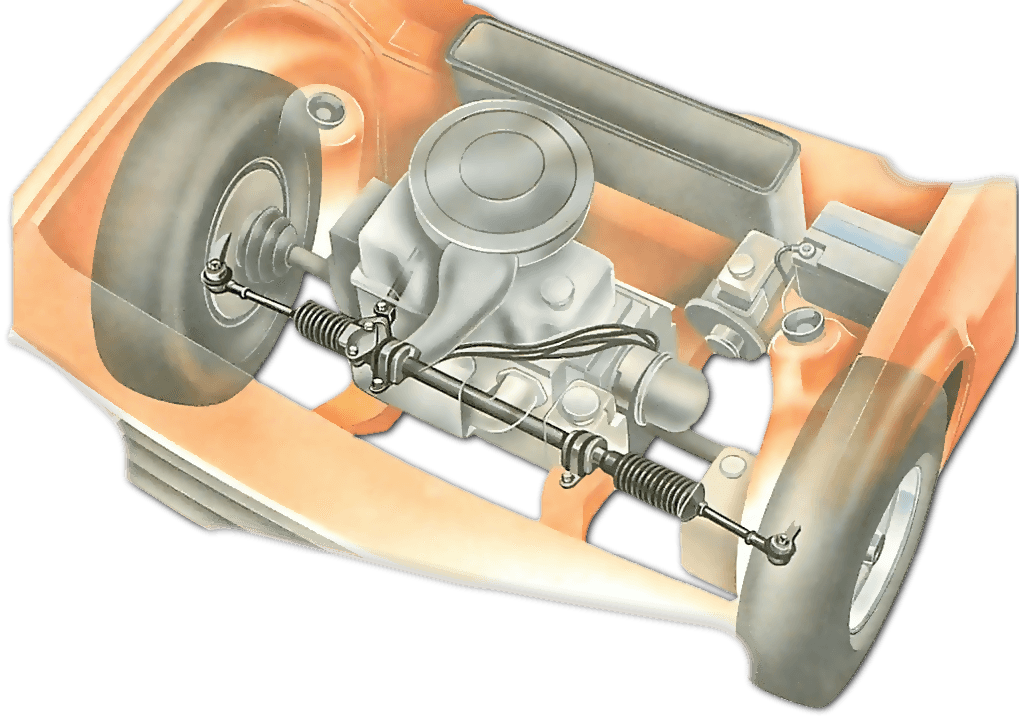
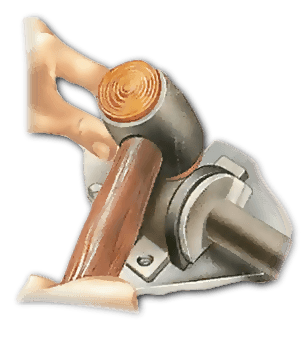
Most modern cars have rack-and-pinion steering gear , mounted across the car. Usually the rack housing is fixed to the front cross member or bulkhead.
The rack is held by clamps with rubber bushes, and any looseness here will allow the rack housing to move from side to side when the steering wheel is turned.
Depending on how the rack is situated, you may have to inspect the mountings from above and below. Drive the front wheels of the car up on ramps, apply the handbrake and chock the rear wheels.
Do not prop the car up on bricks or similar unsteady supports, as the weight must rest on the wheels. Open the bonnet if it aids visibility and use a torch or inspection lamp.
Inspecting the mountings
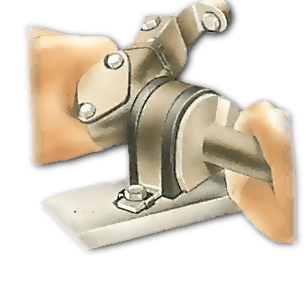
Usually the rack is secured to the cross member by two U-bolts or clamps, under which there are rubber or — sometimes — plastic inserts.
Some cars have rack-and-pinion assemblies with the central part of the rack moving two long track rods from side to side. The mounting brackets for these are at the ends of the rack housing.
Wipe the rack mountings and the area around them clean of dirt and grease so that you can inspect them closely. Use engine -cleaning fluid if necessary.
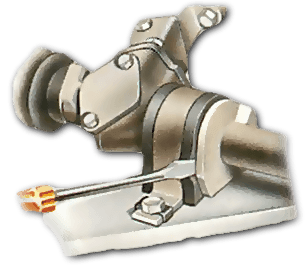
Ask a helper to turn the steering wheel while you watch the steering-rack mountings carefully for movement. The weight of the car on the front wheels provides enough loading on the system for any movement to show up.
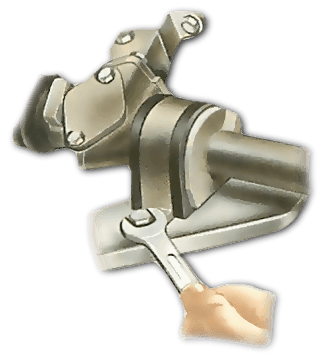
If there is movement, check that the U-bolt or mounting-bracket securing nuts are in place and fully tightened. Test each one with a spanner or socket spanner.
Use a torque wrench to tighten any loose nuts to the correct loading. This torque-setting figure is obtainable from a suitable manual or your local dealer.
If all the nuts and bolts are in place and tight, examine the rubber inserts under the U-bolts or clamps.
Have your helper turn the steering wheel again and watch the inserts carefully for signs of movement within the clamp.
Check them for general looseness, and perishing or other signs of deterioration. Replace them if they are in poor condition.
Check the mounting brackets, U-bolts or clamps for signs of twisting, cracks or breaks. Any damaged ones should be replaced immediately.
Usually they can be renewed, or possibly repaired professionally by welding. They are seldom integral with the steering rack, so it is unlikely you will have to replace the whole rack assembly.
If the mountings are sound, check the metalwork of the front cross member or that part of the chassis or bodywork to which the rack assembly is secured.
Examine the metal closely for heavy rust or other damage that could weaken it enough to allow the assembly to move.
Any weakness found in the metal must be dealt with immediately by welding in a new metal plate , or even replacing the affected part of the body or chassis. Such work is best left to a garage or a professional welder.
Replacing rubber inserts
The rubber inserts under rack-mounting brackets can usually be replaced without moving the rack assembly.

The rubber is split so that you can push the new insert over the rack housing to avoid having to slide it over the end. That in turn means you can tackle one mounting at a time.
Remove the clamp and use a large screwdriver to lever up the rack enough to enable the insert to be removed.

Push the new rubber insert on over the rack, making sure you align it exactly the same position as the old one.
Some inserts have a locating peg moulded into them which goes into a hole in the mounting.
Replace the bracket over the new rubber and tap it with a soft-faced hammer to ensure proper seating.

The Ultimate Car Mechanics video course
Learn everything about modern cars from our new video series.
Learn more >-
We build a Mazda MX5 Miata from scratch
We start by tearing down and then rebuilding the whole car.
-
Every part explained
There's ridiculous detail on every part. Clearly and easily explained.
-
All modeled in 3D
We've created the most detailed 3D model ever produced so we can show you everything working.
Super detailed explanations in the video course
15 hours of pro-quality, HD content with subtitles
The
video
course
Bonus: Dismantling the engine

Engine Block

Crankshaft

Tools: Using a tap set

Using an engine stand

The Pistons
