How to tint windows
The Video Course teaches you everything about modern cars.
More and more top-of-the-range cars are being fitted with tinted windows as standard. Tinted windows have practical benefits. They provide extra privacy inside the car, making it more difficult for a thief to peer inside for any valuables; they help to protect the upholstery from sunlight, which might otherwise fade the fabric; and they also help keep the interior cool.
You can buy ready-tinted windows from your car dealer and fit them in place of the old ones. But this is very expensive and involves a lot of work. It is simpler to tint the existing windows.
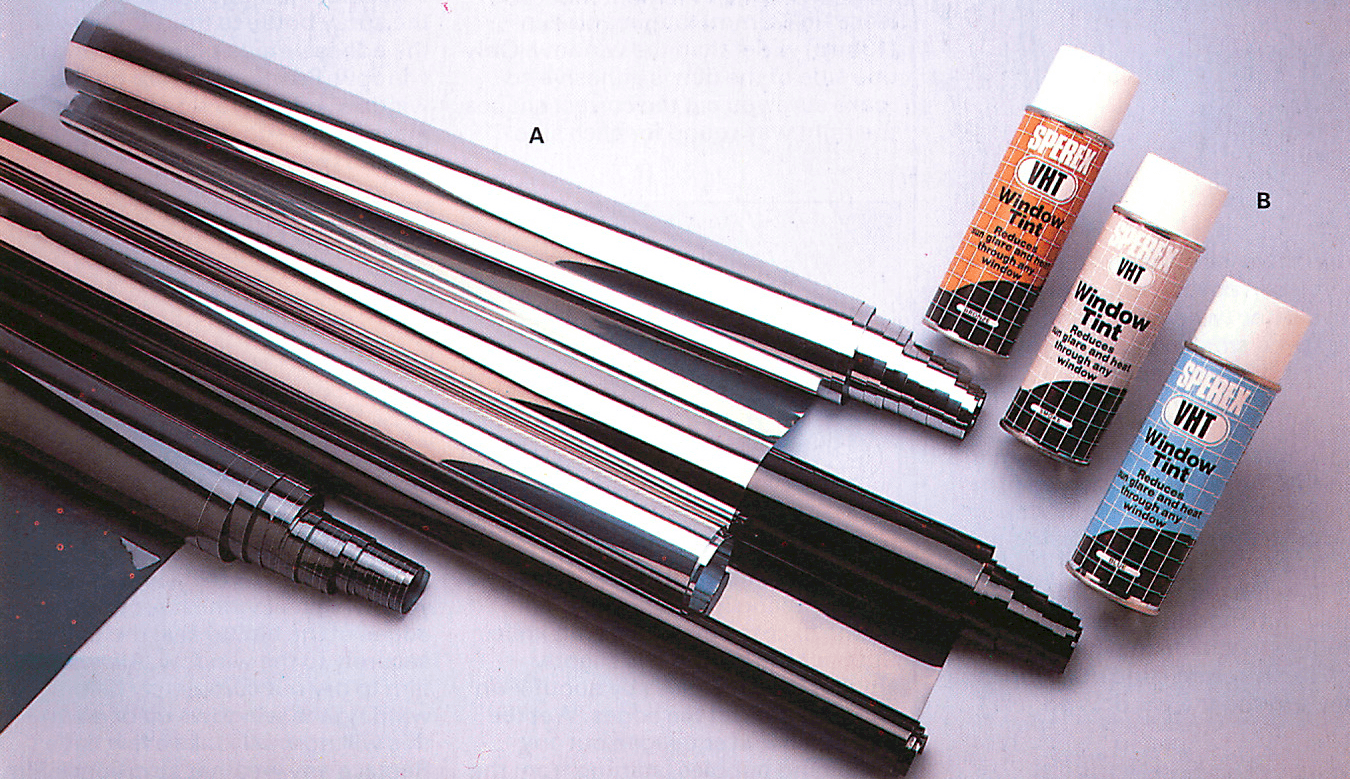
Tinting kits
These are available from accessory shops in two forms - as sheets of plastic film that you stick inside the windows, or as a spray-on tint in an aerosol can.
The spray-on tint is the more expensive, but is quicker to apply and generally gives a better result on windows that are curved. The disadvantage is that you can end up with areas of light and dark unless you apply the tint very evenly. Stick-on tints take longer to apply and are generally more fiddly, but if you apply them carefully the result can be better than a spray-on because you get an even tint.
The tints are available in a range of colours - grey, green, blue, gold and even a mirror-effect tint rather like mirror sunglasses.
Legal restraints
There are legal restraints on tinting the front windscreen because of the possibility of reducing the driver's vision. Legally, any tint that you apply to the front windscreen must allow at least 75 per cent of the light to come through. And it is illegal to use mirror tints on the front windscreen because of the danger of dazzling other drivers.
If in doubt, it is safer not to tint the front windscreen, although you can put a narrow tinted strip on the top of the screen. Choose one that progressively fades away.
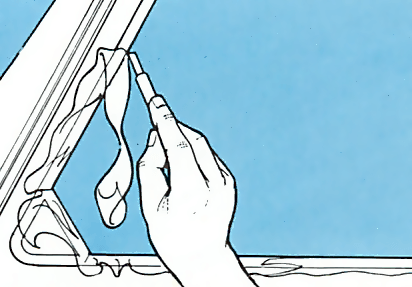
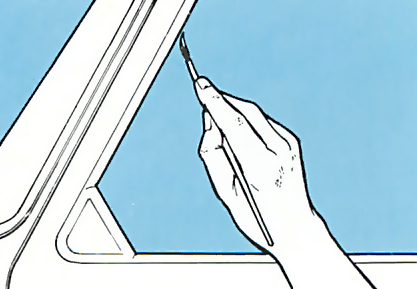
Tinting car windows
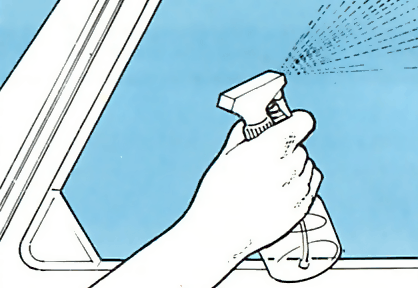
To get a good finish with stick-on sheets you need to work in a warm, dry area out of direct sunlight. The conditions need to be just right or the adhesive may not stick properly.


The Ultimate Car Mechanics video course
Learn everything about modern cars from our new video series.
Learn more >-
We build a Mazda MX5 Miata from scratch
We start by tearing down and then rebuilding the whole car.
-
Every part explained
There's ridiculous detail on every part. Clearly and easily explained.
-
All modeled in 3D
We've created the most detailed 3D model ever produced so we can show you everything working.
Super detailed explanations in the video course
15 hours of pro-quality, HD content with subtitles
The
video
course
Bonus: Dismantling the engine

Engine Block

Crankshaft

Tools: Using a tap set

Using an engine stand

The Pistons
