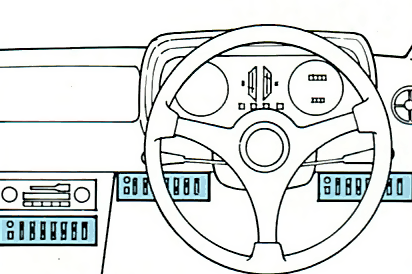
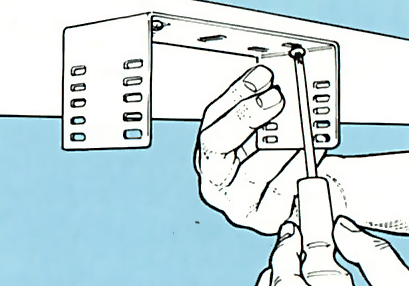
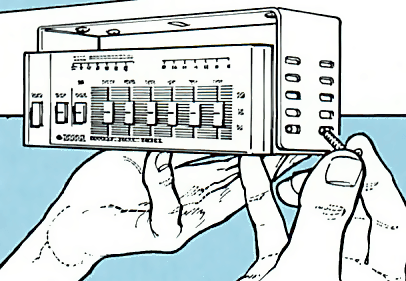
Installing a car graphic equalizer
The Video Course teaches you everything about modern cars.
No car is acoustically perfect. This can mean that your stereo system does not sound as good in your car as it did when you heard and bought it in the shop.
Furthermore, ordinary car stereos are often drowned at high road speeds by engine noise and the rushing of wind. The solution to both problems is to fit a graphic equalizer/sound booster.
A graphic equalizer can be thought of as a very sophisticated tone control. While a stereo has only one or two knobs to allow you to boost either treble or bass sounds, the graphic equalizer has a series of controls that allow you to adjust different parts of the tone individually. For example, you can boost both bass and treble without affecting the middle part of the tone spectrum.
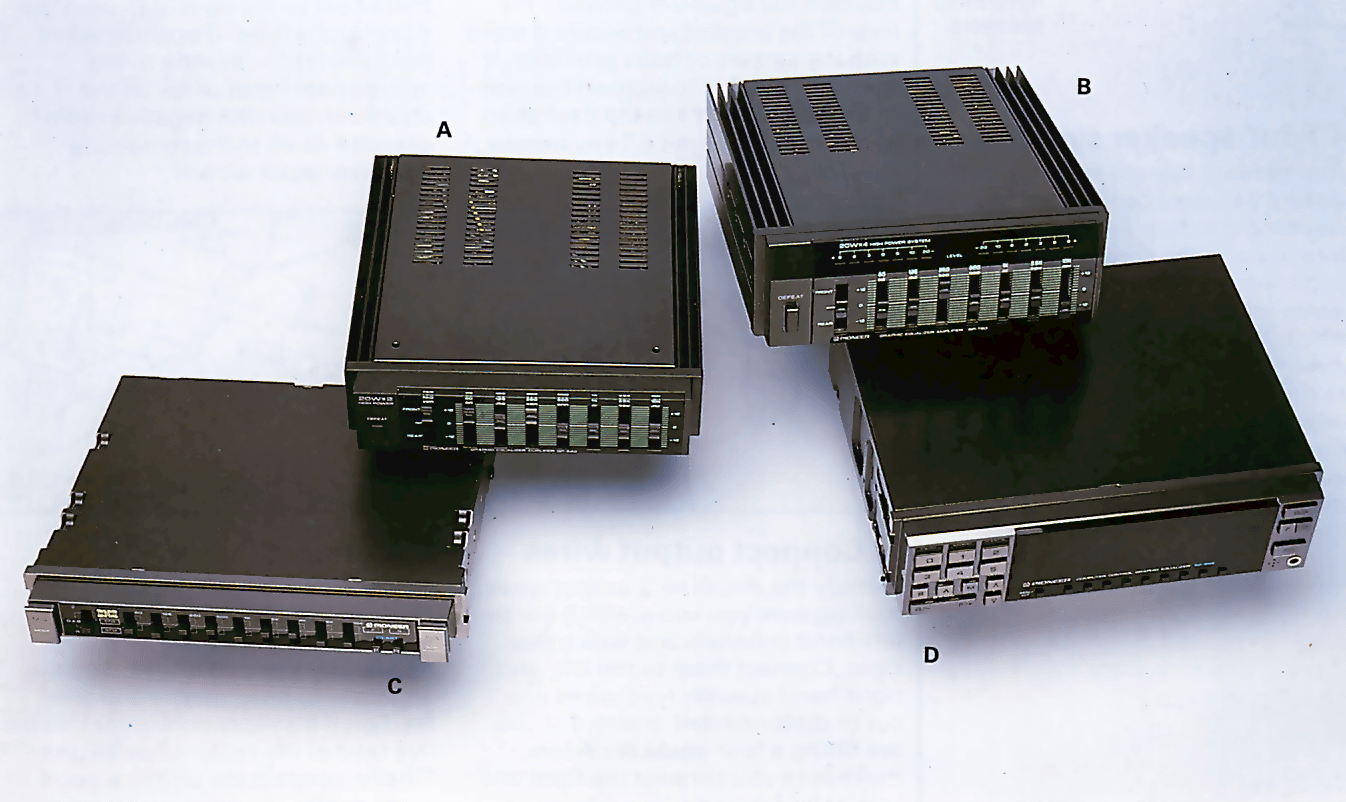
Equalizer features
The more tone controls (sliders) the equalizer has, the more control you have over the sound.
Even the cheapest models have five sliders, while the more expensive ones go up to seven or nine slider controls.
The top-of-the-range equalizers don't have slider controls. Instead buttons control the various tones electronically, the positions of the controls being indicated on an LED display. These models may also have a memory feature allowing you to program in different settings for your favourite tracks.
Sound boosters
Even a well-designed graphic equalizer tends to reduce the volume of the standard radio-cassette unit because some of the amplified sound is lost by the equalization. So most graphic equalizers have a booster amplifier built-in.
A typical equalizer will have a 30 watt booster amplifier, but more or less powerful ones are available. You will probably need to buy a new set of speakers to complement the graphic equalizer - your existing ones are unlikely to be able to take the power.
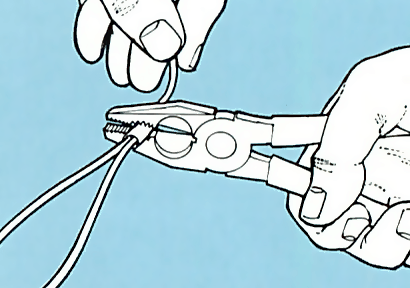
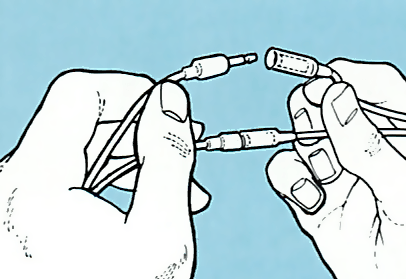
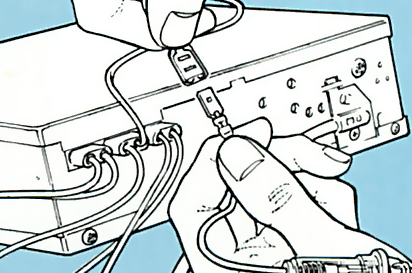
Installing a graphic equalizer

The Ultimate Car Mechanics video course
Learn everything about modern cars from our new video series.
Learn more >-
We build a Mazda MX5 Miata from scratch
We start by tearing down and then rebuilding the whole car.
-
Every part explained
There's ridiculous detail on every part. Clearly and easily explained.
-
All modeled in 3D
We've created the most detailed 3D model ever produced so we can show you everything working.
Super detailed explanations in the video course
15 hours of pro-quality, HD content with subtitles
The
video
course
Bonus: Dismantling the engine

Engine Block

Crankshaft

Tools: Using a tap set

Using an engine stand

The Pistons
